
If you missed the first part of this series, The Anatomy of a Deck, be sure to give it a read!
Hey folks, Lady Merlin here. With Legend of Runeterra's latest expansion Empires of the Ascended out, I thought this would be the perfect time to start a series on how to build competitive decks from scratch.
This past mini-expansion, I created an Aphelios/Zoe (Targon/Freljord) deck that I piloted from Diamond IV to Masters. Today in Part Two, I'll show you what the deck initially started as and then next week in Part Three I'll write about how I playtested and modified the deck into fighting form. Overall I played a recorded 34-25 (59.3% WR) games from Diamond IV to Masters, with the final list contributing 13-8 (~62% WR) from Diamond II to Masters. And for those of you who can't wait to see the final list, I'll make sure to post it in the comments :-)
Please note: This is an intermediate article that assumes readers know general card game concepts, but if you're confused please do not hesitate to reach out!

Introduction
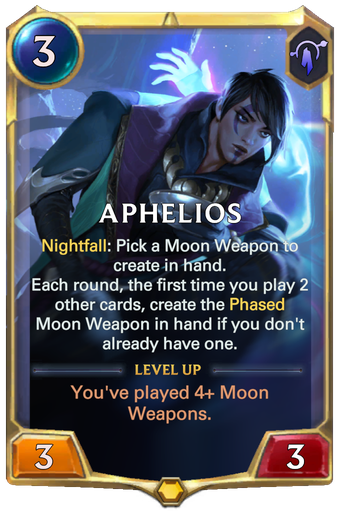
With the last mini-expansion, like so many players I wanted to test Aphelios out. Aphelios is a powerful Champion but one that requires resources to fully take advantage of.
- To play him 'on curve' on turn 3, you need to utilize spell mana or a 0-cost card (like Warning Shot or The Serpent).
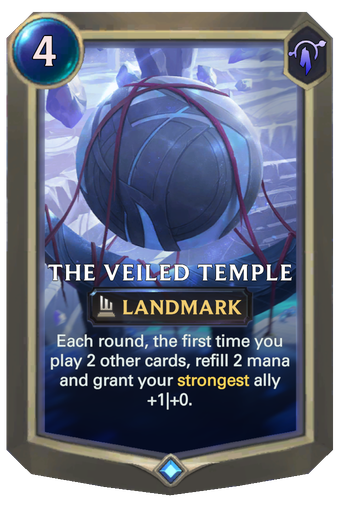
- Aphelios generates resources over time, but only if you play at least two cards a turn -- his generated spells cost 2 mana and automatically give you one card to play a turn, but in general, you want to make sure you have other cheap cards to play alongside him or a way to cheat mana like The Veiled Temple.
- Ideally, you have spells or other ways to defend Aphelios so he can keep on generating those resources.
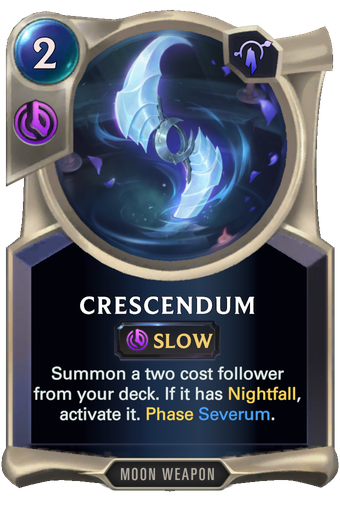
- And finally, to fully take advantage of one of his strongest generated cards - Crescendum -- there's a small deck building restriction you must follow: you want to limit your deck to the strongest 2 drops compatible with Crescendum.
Enter: Zoe
Unlike Aphelios, Zoe is a very independent card -- she's one of the best 1-drops in the game and just hitting your opponent once puts you ahead. More than that, she perfectly curves into Aphelios (T1 or 2 -> Zoe + attack; T3 Supercool Starchart -> Aphelios) and Aphelios has a natural synergy with her - she needs ten unique named cards played to Level-up and Aphelios can provide up to seven of them (including his Champion spell).
Zoe can generate protection for Aphelios in the form of Silence/Stun vs. Challengers, Spellshield via Moonglow, and even proactive defense in the form of The Serpent.
Finally, to really utilize her requires you to have ways to defend your allies -- which is a trait she shares with Aphelios. Therefore, you can build a deck with a lot of cards dedicated towards protection and if you don't draw Aphelios you can protect Zoe or vice versa.
The Core (v0.1)

- 3x Zoe
- 3x Aphelios
- 3x (Crescendum Target)
Alright, we've got our two Champions selected but they're both in Targon, which means we can select a complementing Region to benefit from (unless we want to go Mono-Targon and benefit from Mountain Scryer). How do we make that decision? How do we figure out the rest of the deck?
At the start, I'm leaning towards Ionia or Freljord due to their strong defensive cards (Deny/Nopeify! + recall effects in Ionia; Frostbite, +0/+X effects in Freljord). But I want to be open-minded, so let's take a look at what 2-drops might benefit most from Crescendum.
*Note that Crescendum cards are summoned from the deck and so you do not get the Play: effect from them (though they still trigger 'when summoned' effects). This usually is a net loss, but not always - see Boxtopus.
Analysis 1: Crescendum Targets
Taking a look through 2-cost Followers in my deck collection, I stumble upon several really good Crescendum targets, listed below with my estimation of their power level (X out of 5 Stars) and scribbled down initial thoughts.
Targon:
- Herald of Dragons (2/5) - Potential role player if an Aphelios/Dragon deck would work out but unlikely as you want to draw and play her before turn 4, which is on average the soonest Aphelios would be playing her.
- Mountain Goat (3/5) - Moderately strong. If it lives after attacking on T2 or T3 it can activate Aphelios on its own, which bumps up its rating.
- Lunari Shadestalker(2/5) - Independently strong with Nightfall effect activated.
- Sparklefly (3/5) - All-star of the Zoe/Fiora deck I played last. Not very strong on its own but triply effective with buffs (Elusive + Lifesteal). which will likely be included with Aphelios.
- The Sky Shadows (2/5) - Decent choice that allows for Aphelios to play a card made or potentially generate another card. More of a short-term card that doesn't necessarily go with a midgame strategy well.
Bilgewater:
- Boxtopus (4/5 from Aphelios; 2/5 from hand) - Independently strong. While not very good from hand (without self-damage synergy like Swain or Sorakka), it is very powerful played early from Crescendum as it does not damage itself then.
Piltover & Zaun:
- Ballistic Bot (4/5) - Powerful role player. Its strength will be determined by how much my deck benefits from its effect (generated spell/damage every turn) but would likely be a lynchpin card if I decide to go Viktor/Aphelios instead.
Ionia:
- Eye of the Dragon (4/5) - Powerful role player. Her Attune means your Crescendum refunds you back 1 Spell mana and she likes two spells being played in a turn (and Aphelios generates one of them for you). Strong anti-aggro/chip damage card.
- Fae Bladetwirler (3/5) - A strong attacker when synergies can be met.
- Greenglade Duo(3/5) - Independently strong. A little fragile in metas with 1-damage spells going around, though Zoe draws many of them.
- Young Witch (3/5) - Powerful card that can protect attackers + provide chip damage. Same weakness as Greenglade Duo.
Noxus:
- Trifarian Gloryseeker (2/5) - Very strong but fragile card.
Demacia:
- Battlesmith (3/5) - Strong role player but like Herald of Dragons, you don't usually want to be playing him on turn 4 but before then.
Freljord:
- Avarosan Sentry (3/5) - Independent role player. Decent choice.
- Starlit Seer (5/5) - Powerful role player, that likes spells being played. Seems to have the strongest long-term effect out of all the cards mentioned that utilizes a similar gameplan to Aphelios himself. A simple +1/+1 or +2/+2 on Zoe or Aphelios could be game-deciding if it makes your opponent require two cards to remove them instead of one. His main weakness is being killed before he gets rolling, but we're packing our deck full of defensive buffs, anyways!
The Core (v0.2):
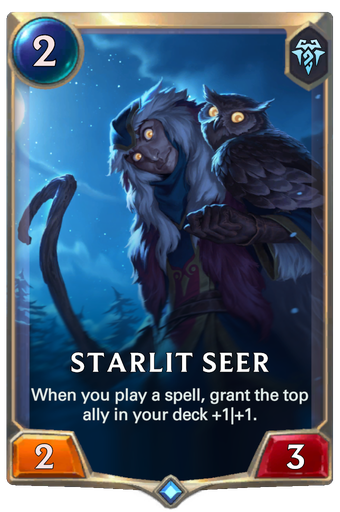
That same Starlit Seer logic reminds me that FJ has one of the best 1-drops in the game (Omen Hawk) with a similar buffing effect and that logic bumps me over the edge to try out my deck as Targon/Freljord. With that decided, I have the starting core of my deck:
- 3x Omen Hawk
- 3x Zoe
- 3x Starlit Seer
- 3x Aphelios
Next is figuring out what will be the Engine:
- ? Spells that cost 1 or 2 (to activate Aphelios on curve)
- ? Spells that defend Aphelios/Zoe/Starseer
Analysis 2: Synergistic Spells
For these spells. I'm going to do a much quicker analysis - simply listing if they fit one or both of the above criteria, and adding a * if they seem like powerful choices. Note that, because of Zoe's unique card name condition, choosing a good mix of the following cards will help her Level-up.
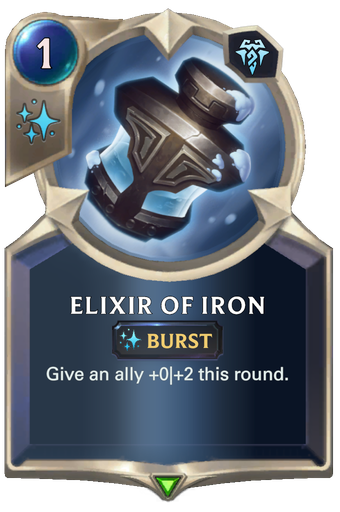
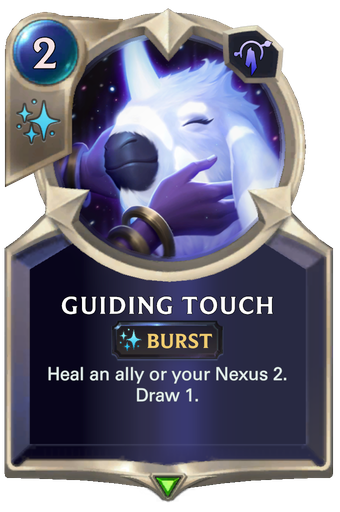
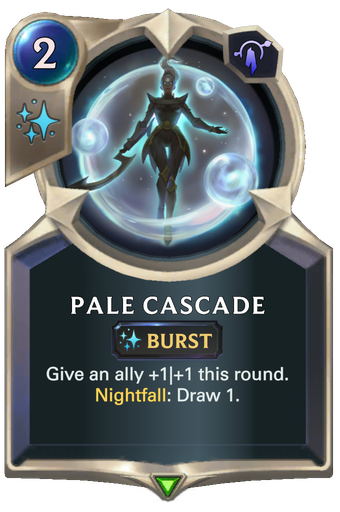
Spells that meet the above two parameters: Brittle Steel*, Elixir of Iron*, Guiding Touch*, Pale Cascade*, Troll Chant*, Sunblessed Vigor, Troll Gifts.
Spells that match the first parameter only: Messenger's Sigil, Caught in the Cold, Entreat, Gifts From Beyond, Shared Spoils, Shatter, Starbone, Supercool Starchart (non-bo with Zoe).
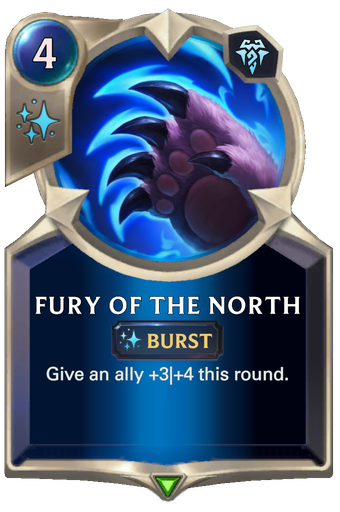
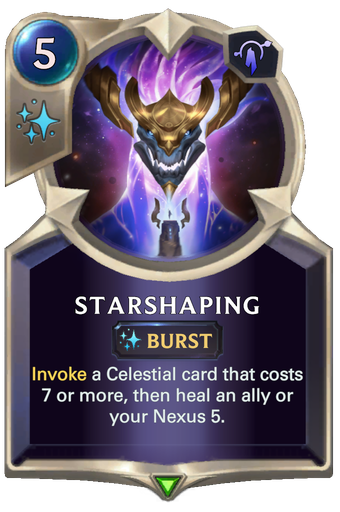
Spells that match the second parameter only (including proactive defense): Flash Freeze, Hush*, Take Heart, Wish, Zenith Blade, Astral Protection, Bastion*, Bloodsworn Pledge, Fury of the North, Blessing of Targon, Moonlight Affliction,Out Of The Way, Starshaping*, Harsh Winds, Sunburst, Battle Fury, Feel The Rush, The Skies Descend.
I star Hush here now, but on my initial analysis, I overvalued the nerf to 3-mana and didn't include any copies in the first iteration of my deck.
The Engine
Using the above analysis, I had a solid starting point. Still, I wasn't sure which cards would be best so I decided to add a mixture of them, trusting that as I playtested, the spells that would be really beneficial would become more obvious:
- 1x Brittle Steel
- 2x Elixir of Iron
- 3x Guiding Touch
- 3x Pale Cascade
- 2x Troll Chant
- 2x Bastion
(25/40 Cards)
Guiding Touch and Pale Cascade got a pass as 3-ofs (even with the Pale Cascade nerf) due to their ability to cycle -- a small 'draw engine' factor that would help me actually hit the minions buffed by Starlit Seer.
Side-Engine
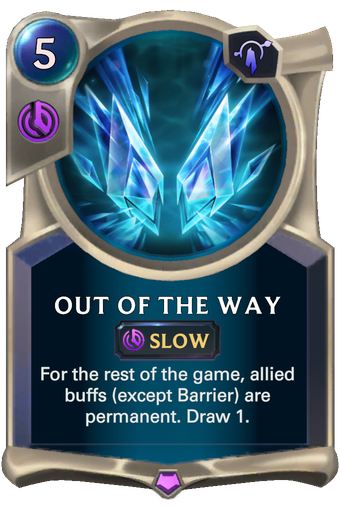
At this point, I was feeling the inner mad scientist and wanted to experiment with 3 copies of Out Of The Way - seeing as the spell would make Aphelios' Infernum and Severum buffs (along with several of the above spells) permanent. I knew I probably had at least 1 too many copies of it, but I wanted to see how powerful it was when played relatively early.
Then, I decided to add a few more cards I thought would be powerful with Out of the Way:
(33/40 cards)
Good Stuff
Once the Core and Engine have come together, the rest of the way is downhill. With 7 slots left, I notice I was lacking 3-drops and 4-drops so I quickly add some Good Stuff:
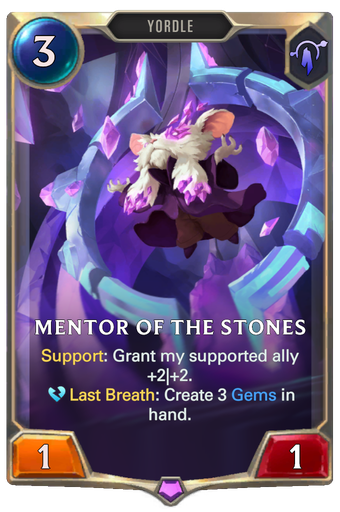
- 2x Mentor of the Stones (provides buffs and/or spells for Starlit Seer/Aphelios)
- 2x The Veiled Temple (let's try this out!)
- 2x Starshaping(healing for me, some endgame or 'get out of jail for free' cards)
- 1x Mountain Goat (what if I already play all three Seers, would I still want a Crescendum target?)
(40/40 cards)
The First Draft
Putting all the components together, this was my first iteration of the deck:
Conclusion
With our deck ready to go, we're off to the races. Thank you for reading! I hope this article gave better clarity on how I took my 'Anatomy of Deck' strategy from my first article and applied it to a brand new deck. Please feel free to share your thoughts, comments, and suggestions below - as well as your own decks if you like. Until next time, happy deck brewing!
Next up: Part Three - Playtesting and Modifying this deck into a winner! If you didn't catch part 1 where we look at the anatomy of a deck, be sure to check it out.


Comments
I really like playing these games, but I'm a lousy deckbuilder. These tips are appreciated, thank you!
Thanks folks for reading this article! If you can't wait for the next article - for those interested to see how my deck turned out, here it is:
I apologize for getting this article out so late, the above decklist is outdated for the current meta but hopefully you can see how it was fine tuned. Triple Hush mattered when Lee Sin/Zoe was running amok alongside Fiora decks and all the lifesteal/Healing mattered due to all the aggro decks I ran into on ladder (this deck maybe had a 80% wr vs. most Aggro decks at the time).
While I'm interested in revamping it with some of the new expansion's cards, I'm already working with some of the new Archetypes that are popping up. More articles on that after the next Playtesting one comes out!
As a netdecker who just start getting into deck building, these articles have proven to be very helpful. Thanks.
You're so welcome minuano28! Thank you for letting me know that. I hope you're able to build your own competitive decks to enjoy, yourself :-)
My only experience with the Moon Weapons comes from Lab of Legends, but I really underestimated the value of pulling a 2-drop from your deck. My guess for "best MW" would have been the Overwhelm; the Lifesteal was invaluable in Lab of Legends, but I recognize how skewed that is given the situation.
The main thing about crescendum is that it always gives reliable value, and plays into the next most reliable moon weapon-- calibrum.
You only really want severum for lifesteal unless something you own is injured, and calibrum is only good if you're being aggressive and trying to end soon.
So if you're the slower deck, crescendum -> calibrum -> gravitum is the most reliable stall, with some severum sprinkled in when they're unlikely to fizzle the spell by killing your unit or when you're really needing lifesteal.
linkblade91 - Definitely! Thanks for sharing your experience. Any time I see an effect that can potentially tutor (draw a specific card) - as a deckb builder I'm going to look for a way to break it.
I definitely agree with Sample101 here. The OG version of this deck asked the question, "How much does permanent Overwhelm and Lifesteal from Moon Weapons matter?" using Out Of The Way - while there were some niche cases where it won me the game, the overall answer was: not much. Crescendum -> Calibrum -> Gravitum is almost always the correct play.
Thank you both for sharing!