Hearthstone
Beast Hunter
- Beast Hunter
- Wild
- Casual
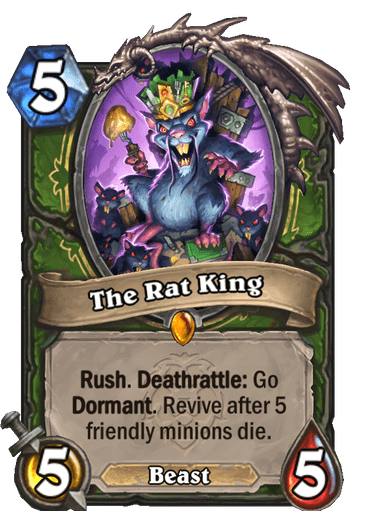
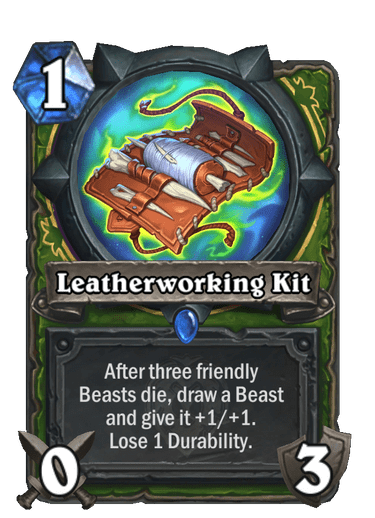
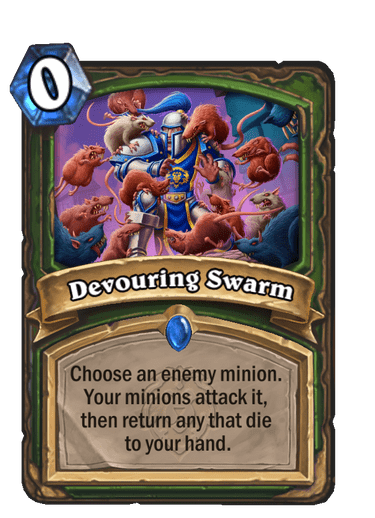
Beast Hunter has gained some very strong cards in Stormwind. Devouring Swarm is a flexible and powerful card that leads to compelling decision making, Leatherworking Kit provides cheap card draw and buffs, and The Rat King is a potent force for continuous board control. Using these new cards and a variety of old beasts and beast support, the deck has a very adaptable and multi dimensional gameplan. It can fight for board control from the start, keep refilling hand with resources while applying a stream of continuous pressure in the midgame, and finish with a variety of powerful burst from hand combos.
Now, let's get into a guide on playing the deck. It's going to go through major overarching strategies to keep in mind, how to mulligan, gameplay tips on key synergies, and card choices.
Strategies
What makes the deck interesting to play is it has a lot of different strategies you can go for each game. The deck is very flexible, and adapting to the current matchup and situation and thinking of what strategy or combination of strategies to go for to win makes it have a lot of replayability.
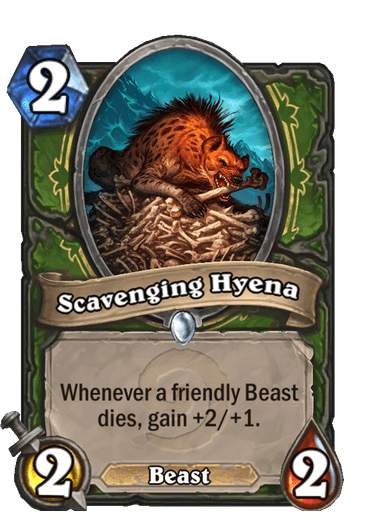
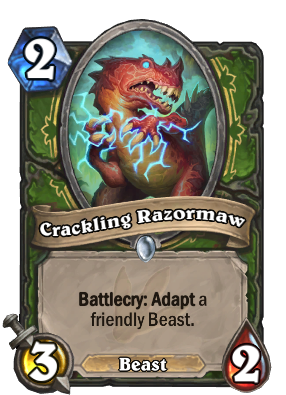
Aggression - This deck has a low curve, and if you can start off with a 1 drop beast and start growing a Scavenging Hyena and buffing your minions with Crackling Razormaw, you can sometimes win games in the first couple of turns.
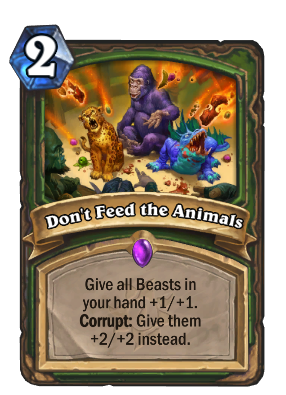
Midrange - If your early wave of aggression is dealt with, you can shift into a midrange strategy. Due to your plentiful card draw, this deck can easily refill for multiple waves. You want to play your card draw to develop a large hand size, then use a Corrupted Don't Feed the Animals to buff your hand. From there, you can use your buffed up minions, many of which will benefit extra from being buffed due to their abilities, to fight for the board. The goal is to use your card draw to gain card advantage and eventually run the opponent out of resources and take control of the board to win.
Control - Sometimes you are against a deck which is more aggressive than yours, and the best thing to do is try and maintain board control as best as you can. This deck has a lot of rush minions you can use, as well as The Rat King which will keep coming back and helping you maintain control. Devouring Swarm can even effectively give your non Rush minions Rush and let them trade into enemy threats immediately. After controlling the board in this way and running your opponent out of resources, you can switch to another strategy to win.
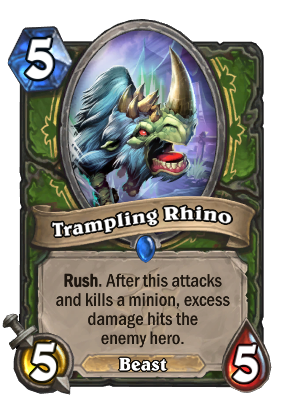
Trampling Finisher - Your Trampling Rhinos can be great finishers in this deck. You can buff them with Dire Frenzy, Don't Feed the Animals, and even Crackling Razormaw adapts. Then you can attack into enemy minions to deal a lot of damage to the enemy hero, and use Devouring Swarms to make them attack even more enemy minions that same turn and deal your opponent even more damage. This will rarely do 30 damage by itself, but is a good way to win if your other strategies have decreased your opponent's health.
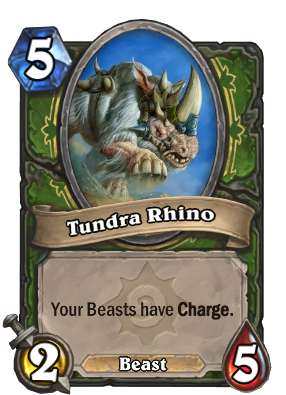
Tundra Finisher - You have one Tundra Rhino in your deck, and if the game is going on for a while and you have not been able to establish a board, or your opponent is not playing minions for your Trampling Rhinos to trade into, you can use a Tundra Rhino along with minions buffed by Don't Feed the Animals or a Scavenging Hyena and multiple beasts to create a board with significant attack that can attack the opponent the turn it is played and often win the game.
When playing this deck, you want to keep these 5 general strategies in mind and use one or more of them to win. You can combine strategies together in different ways. For example, you can push for the aggressive victory and then use one of the finisher strategies later to win even if your opponent managed to stabilize the board against your initial onslaught. Mixing and matching these strategies and saving certain cards to use at the right moment is the key to playing the deck well.
Mulligans
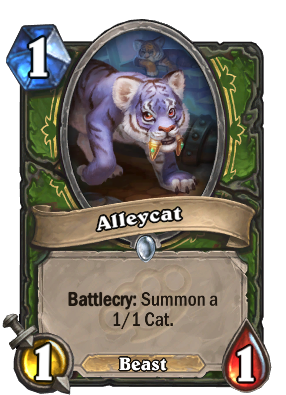
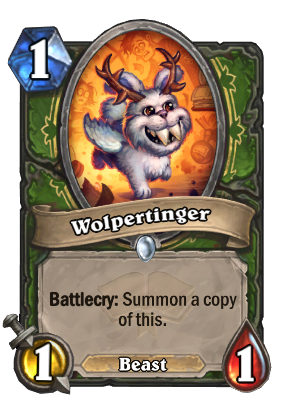
Keep Alleycats, Wolpertingers, Crackling Razormaws, and Scavenging Hyenas. An exception is if you have more than two of those 1 cost minions in hand and no 2 drops, in which case you should keep two 1 costs and mulligan the rest. Also, if you have no 1 cost minions, mulligan all of your 2 cost minions.
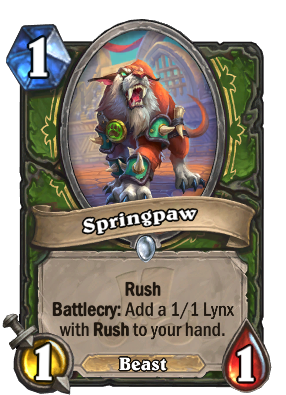
Keep Springpaw if you have a Scavenging Hyena or no other 1 drops in hand.
If you have a Scavenging Hyena and either a Wolpertinger or Alleycat, keep Devouring Swarm.
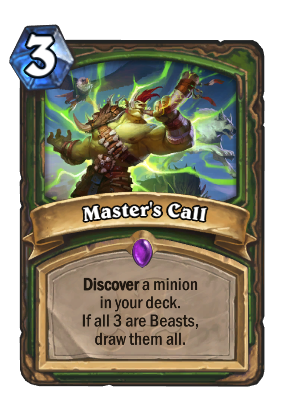
Keep one copy of either Leatherworking Kit or Master's Call. If you have at least 2 minions among Alleycats, Wolpertingers, and Springpaws, keep a Leatherworking Kit along with all of those minions. Otherwise, keep a Master's Call.
Only keep Don't Feed the Animals if you already have a turn 1 and 2 play, otherwise it's more importantly to mulligan aggressively for 1 and 2 cost minions.
Gameplay
In general, you want to try to open aggressively with 1 drops and 2 drops. If that doesn't work to snowball into a win, use your card draw and rush minions to keep fighting for board control while increasing hand size. Finally, you can either keep controlling the board with rush minions or multiple The Rat Kings if against an aggressive deck, or go for a burst finish with one of the rhinos.
Below are gameplay tips regarding many of the synergies in this deck and how to use them effectively.
Devouring Swarm Synergy
Using Devouring Swarm effectively is one of the most interesting and impactful aspects of playing this deck. It has many different uses, and you need to evaluate how much pressure you are under and what cards you have on board and in hand that can combo with it to make the right plays. Overall, for 0 mana, it's an unbelievably powerful and flexible card for the deck!
Keep in mind that after you play Devouring Swarm, your minions will attack in the order in which they were played.
Using Devouring Swarm does not count as a minion's attack for the turn, so you can use it to make a minion destroy a taunt and then use the minion's regular attack to go face.
One use of Devouring Swarm is to establish board control by using it to give your minions another attack to remove an enemy minion. This also has the effect of giving non Rush minions the ability to affect the board the turn they are played. Something to note is it can let you remove minions that are otherwise protected by Taunts.
You can also use it to refill your hand. If many of your minions are at low hp, you can force them to trade into one big enemy minion and get more of those minions added to your hand.
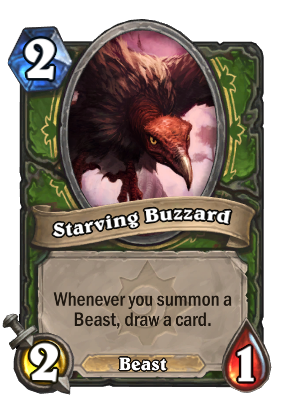
Another use is to get more copies of key minions. For example, you can play Starving Buzzard, an Alleycat, and a Wolpertinger to draw 4 cards. You can then use Devouring Swarm to get many or all of those minions back into your hand to be able to draw more cards with Starving Buzzard next turn.
Here is an example of a great play you can do with Devouring Swarm and Scavenging Hyena: It's turn 4, you have no minions on board, and your opponent has a 4hp minion. Play Alleycat and Wolpertinger, then Scavenging Hyena. Then play Devouring Swarm on the 4hp minion. This will result in the 4 hp minion being cleared, you getting 2 Wolpertingers, an Alleycat, and a Tabbycat added to your hand, and a 10/6 Scavenging Hyena on the board.
Finally, a major use of Devouring Swarm is to combine it with a buffed Trampling Rhino to let it attack multiple times in one turn, leading to a lot of burst damage face. You can even use two Devouring Swarms on the same rhino and end up with it being able to attack 3 times in one turn.
Scavenging Hyena Synergy
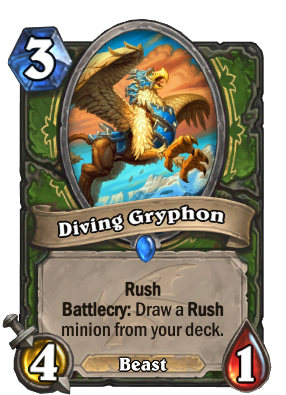
Scavenging Hyena has the ability to snowball and win a game by itself. In addition to being a very strong followup to a turn 1 Alleycat or Wolpertinger, you can keep protecting it in ensuing turns by trading into opponent minions with Rush minions like Springpaw, Lynx, and Diving Gryphon while growing its stats at the same time.
Keep in mind that a card like Defile will not kill Scavenging Hyena if it had 2 hp and a 1 hp beast dies first. The hyena will grow its stats right after the first beast died and will survive. This is also relevant for a card like Perpetual Flame. However, if you are using a Devouring Swarm the hyena will not gain stats until after Devouring Swarm has resolved so having other beasts attack and die first would not save a Scavenging Hyena if it would die in its attack.
Various Midgame Synergies
You can use Crackling Razormaw on a Trampling Rhino to have a 1/3 chance of giving it Windfury for more burst damage. Giving it 3 attack is another great option.
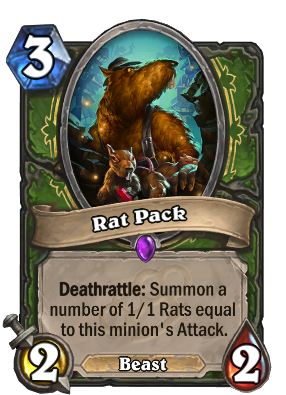
You can play a Starving Buzzard before trading a Rat Pack either with a regular attack or with Devouring Swarm as a way to draw cards. You will draw one card for each Rat summoned.
In matches against slower decks, save Don't Feed the Animals for a large hand size, but in matchups against faster decks do not try to maximize its value unless you are winning on board.
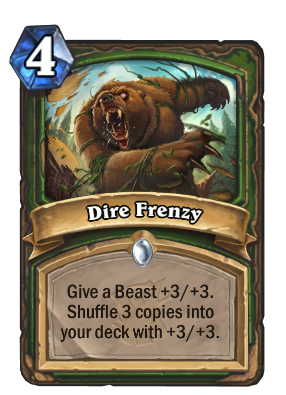
Synergies with Dire Frenzy
Because this deck has so much card draw, you can often start drawing and playing the buffed minions shuffled into your deck with Dire Frenzy soon after shuffling them in, sometimes in the very same turn.
You can use Dire Frenzy on any beast if it helps you with tempo on board, but below are the best targets.
Using it on a Wolpertinger is great, it's going to set up a favorable trade early game and later you'll get two 4/4s for 1 mana, which is either great to dominate board in the midgame or use with Tundra Rhino as something that can add 8 damage to a finisher turn.
Another great play is turn 3 Rat Pack into turn 4 Dire Frenzy.
Buffing a Trampling Rhino and getting 3 more buffed rhinos in your deck for further burst damage can be very powerful.
Finally, for a very strong board control strategy you can use Dire Frenzy and Devouring Swarm to get extra copies of The Rat King. You can then have 3 or 4 copies of him on the board which will keep coming back and generate a lot of value for you. If they don't all the die at the same time, they can even help each other come back from being dormant.
Synergies with Tundra Rhino
This is a nice combo to look out for. If you have a Tundra Rhino, Scavenging Hyena, and buffed Rat Pack, you can trade the Rat Pack into some minion and then trade all the little rats it summons into other minions. After that, your hyena will have very high attack and can go face.
You can wake up your The Rat King or multiple rat kings on your Tundra Rhino finisher turn by trading in some small beasts, and then using rat kings as face damage.
Against slower decks with lots of removal, you may want to save buffed Wolpertingers to combo with Tundra Rhino.
Make sure you are keeping track of how much face damage you have from hand in the later turns with a Tundra Rhino play. If you almost have enough for lethal, consider playing higher cost minions and hero powering while saving lower cost buffed minions or a Scavenging Hyena and small minions in hand to set up lethal in the next couple turns.
Card Choices
This section is going to go through the main packages of cards in the deck. Each package has cards that help the deck with a specific goal, such as card draw, buffing, or finishing the game. When playing the deck, it's useful to know what purposes each card serves and what other cards in the deck have synergy with it or help achieve the same purpose. This section might also be useful if you're interested in the reasoning for why each card was included in this deck.
All the cards in this deck help execute one of the 5 main strategies you can use to win. There is a lot of both early and mid game board generation potential, mid and late game burst, and crucially for keeping the deck consistent, a lot of card draw.
Early Aggression
These cards all help with aggressive starts in turns 1-3.
Rush Minions
These minions are great for keeping control of the board.
Multiple Beast Synergy
These cards either create multiple small beasts or benefit from beasts being summoned or dying.
Card Draw and Generation
These draw cards for you, with the exception of Devouring Swarm which doesn't draw any but adds cards to your hand.
Buffs
These cards either buff or handbuff your minions. Multiple minions in the deck will benefit extra from this, including Wolpertinger, Rat Pack, Trampling Rhino, and any other rush minions.
Finishers
These cards are here to finish the game in cases where you either lost board control or are against a deck with the ability to keep removing your boards. The reason the deck has only one Tundra Rhino is unlike Trampling Rhino which can be great on turn 5, Tundra Rhino only becomes a good draw in the later portions of the game, usually after turn 7. Due to the plentiful card draw in this deck, you will often draw the single copy by that time.
If you like decks with nonlinear, multidimensional strategies and gameplay, give this one a try! It has elements of aggro, midrange, control, and even combo. If you have a question or comment, or are wondering about a card substitution, post below.
Vote On This Deck!
Enjoy this deck guide? Help others find it and show your support to the author by giving it an upvote!
8Update #7
Card changes 1 year ago (Festival of Legends Pre-Purchase)
Update #6
Card changes 1 year ago (Festival of Legends Pre-Purchase)
- Sunscale Raptor 2
- Hope of Quel'Thalas 1
- The Rat King -1
- Leatherworking Kit -2
- Tundra Rhino -1
- Don't Feed the Animals -2
- Stranglethorn Heart 1
- Hydralodon 1
- Beaststalker Tavish 1
- K9-0tron 2
- Rat Pack -2
- Crackling Razormaw -2
Update #5
Card changes 1 year, 6 months ago (Maw and Disorder)
Update #4
Card changes 1 year, 7 months ago (Second Nathria Balance)
Update #3
Card changes 1 year, 7 months ago (Second Nathria Balance)
- Wolpertinger 2
- Harpoon Gun 2
- Diving Gryphon 2
- Master's Call 2
- Crackling Razormaw 2
- Trampling Rhino 2
- The Rat King 1
- Springpaw 2
- Devouring Swarm 2
- Don't Feed the Animals 2
- Leatherworking Kit 2
Update #2
Card changes 1 year, 7 months ago (Second Nathria Balance)
- Don't Feed the Animals 2
- Leatherworking Kit 2
- Devouring Swarm 2
- The Rat King 1
- Wolpertinger 2
- Harpoon Gun 2
- Diving Gryphon 2
- Crackling Razormaw 2
- Trampling Rhino 2
Update #1
Card changes 1 year, 7 months ago (Second Nathria Balance)
- Harpoon Gun 2
- Dire Frenzy -2
- 00
- 01
- 02
- 03
- 04
- 05
- 06
- 07+
- 0 Devouring Swarm x 2
- 1 Alleycat x 2
- 1 Springpaw x 2
- 1 Sunscale Raptor x 2
- 1 Wolpertinger x 2
- 2 K9-0tron x 2
- 2 Scavenging Hyena x 2
- 2 Starving Buzzard x 2
- 3 Harpoon Gun x 2
- 3 Master's Call x 2
- 4 Stonebound Gargon x 2
- 5 Shadehound x 2
- 5 Tundra Rhino x 2
- 6 Beaststalker Tavish x 1
- 6 Hope of Quel'Thalas x 1
- 7 Hydralodon x 1
- 8 Stranglethorn Heart x 1
More Beast Hunter Decks
More Decks From Swizard
Leave a Comment
You must be signed in to leave a comment. Sign in here.
Comments
No Comments Yet. Be the first to create one down below!