Having trouble deciding what Series 3 cards to claim in the Choose Your Card section of the Shop? We've broken the entirety of Series 3 of MARVEL SNAP into Tiers to guide your decision to claim or ignore the card that's just shown up in the Shop.
The Tiers these cards are sorted into are based on how well they work with a variety of strategies and how much more powerful they make a deck. If a card is in A Tier, that is not because it's part of one "A Tier" deck; rather, we believe it to be more impactful in a variety of decks than cards of lower Tiers, and that players should prioritize adding it to their collection as early as they possibly can to open up a myriad of deckbuilding opportunities. As you randomly acquire other Series 3 cards from Caches and Reserves, having an A Tier card in your collection will give you more options when deciding what deck to play, more so than having a card of B Tier or lower - the same for a card of B Tier versus cards of C Tier or lower, and so on.
We're using the logic that, since you can only claim one card per Season, you should wait for a card of the highest Tier possible rather than claim something in a tier below. Cards in the same tier are, in our opinion, similar in impact and the decision to choose one over the others is entirely up to your discretion. Your personal preference should be the most important variable when deciding whether to claim a card; our ranking exists solely to assist players in their MARVEL SNAP journey. It is important to remember that, should you claim a card that is later nerfed, you will receive no compensation - if a card is confirmed to be on Second Dinner's watchlist, we will immediately move it to the bottom Tier.
There is no ranking within tiers; cards are presented in alphabetical order.
Some of our images do not reflect a card's current stats; our rankings are based on the card as it currently exists in MARVEL SNAP.
Recent Changes: (7/31)
- Moved: Aero (C Tier to D Tier); Black Bolt (F Tier to D Tier); Dazzler (F Tier to D Tier); Jane Foster (F Tier to D Tier); Kingpin (D Tier to F Tier); Leader (C Tier to D Tier) Magik (C+ Tier to A Tier); Nick Fury (F-Tier to D Tier); Sera (S Tier to A- Tier)
Table of Contents
A Tier: Strongest Options
These are some of the best cards Series 3 has to offer, and make a lot of good decks better. Many of them are the best card for their Energy cost in the entire game.
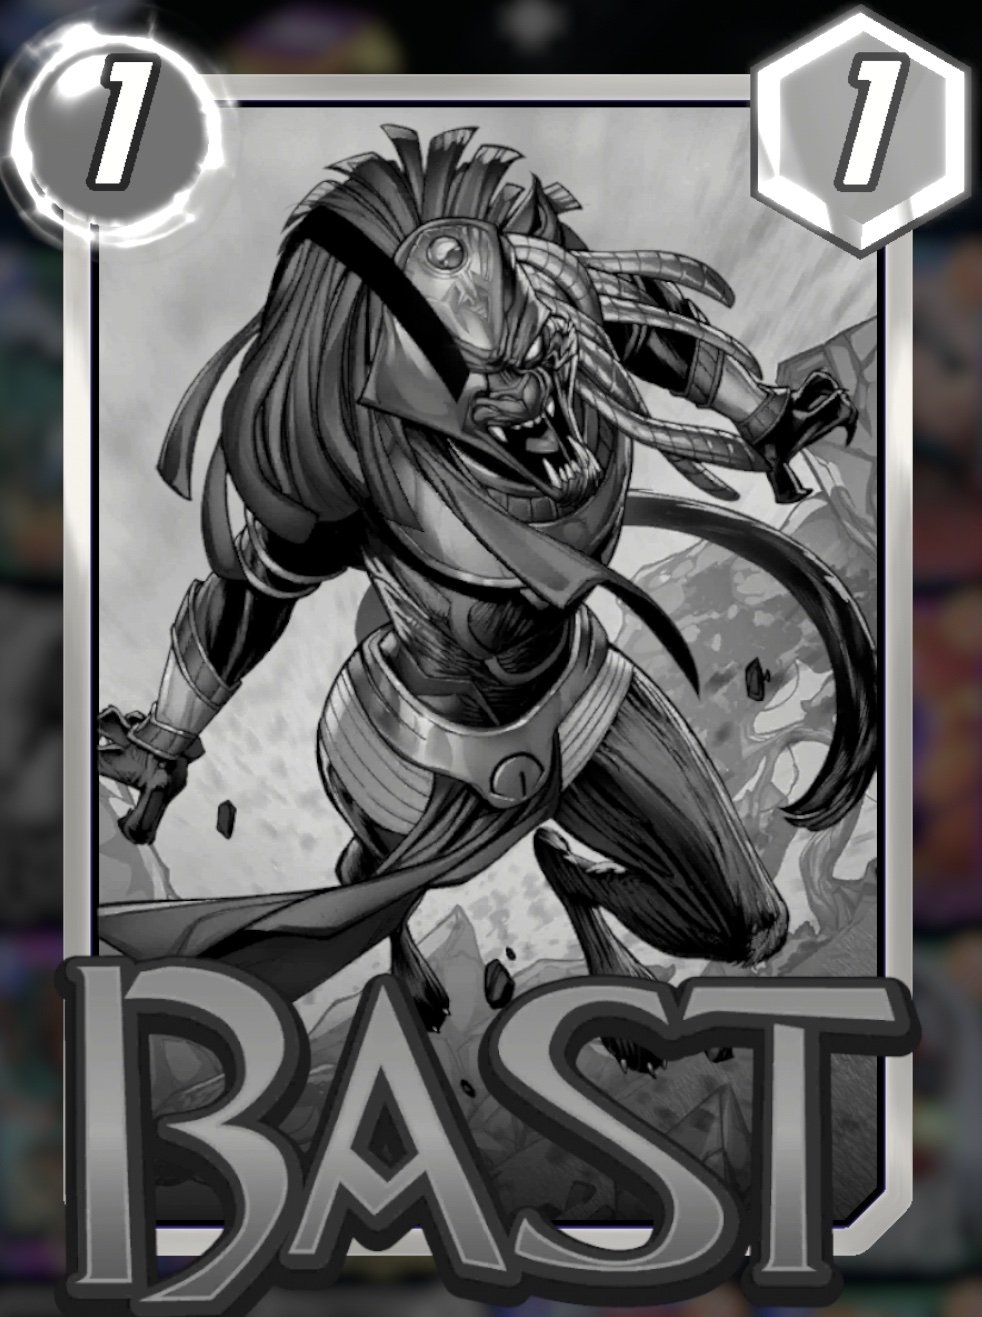 On Reveal: Set the Power of all cards in your hand to 3. On Reveal: Set the Power of all cards in your hand to 3. | Bast is a potent use of 1 Energy, boosting the Power of cheap cards while making 0 Power All-Stars like Iron Man much more impactful. |
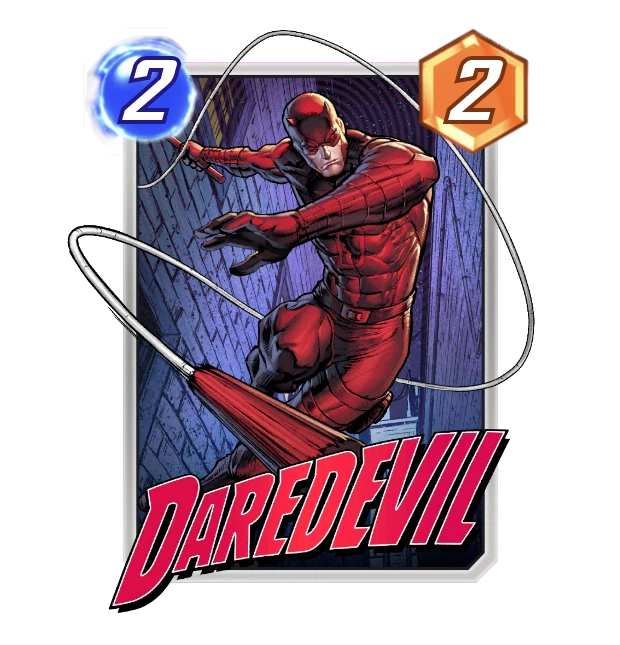 On turn 5, you get to see your opponent's plays before you make your own. On turn 5, you get to see your opponent's plays before you make your own. | Daredevil gives his controller a unique opportunity for extra information. He can't be easily replaced in decks that rely on his ability to see the... present. |
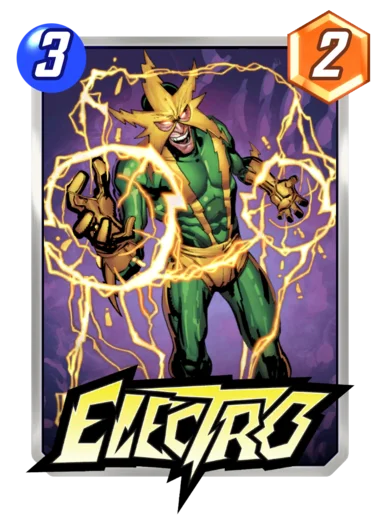 On Reveal: +1 Max Energy. Ongoing: You can only play 1 card a turn. On Reveal: +1 Max Energy. Ongoing: You can only play 1 card a turn. | Electro is THE enabler of Ramp decks. Works best once you've got a couple of good 6-Drops from Series 3, but also fits into Spectrum Destroyer pretty easily. |
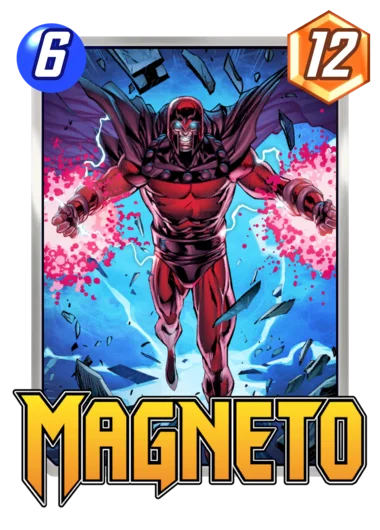 On Reveal: Move all opposing 3 and 4-Cost cards to this location. On Reveal: Move all opposing 3 and 4-Cost cards to this location. | Magneto is one of the better control 6-Drops in MARVEL SNAP. Wrecks your opponent's game plan, and comes with a not-insignificant body to boot. |
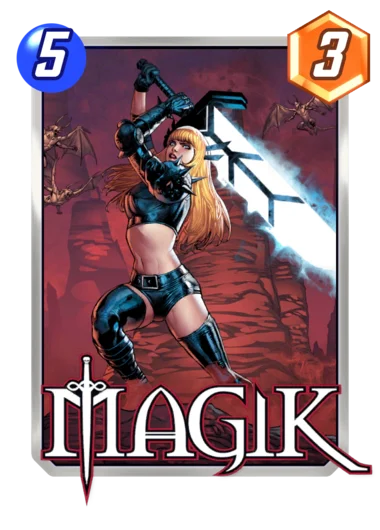 You can’t play this on turn 6. On Reveal: Change this location to ‘Limbo’. You can’t play this on turn 6. On Reveal: Change this location to ‘Limbo’. | Now a 3-Drop, Magik is exponentially more useful as a game-extender and location replacer. |
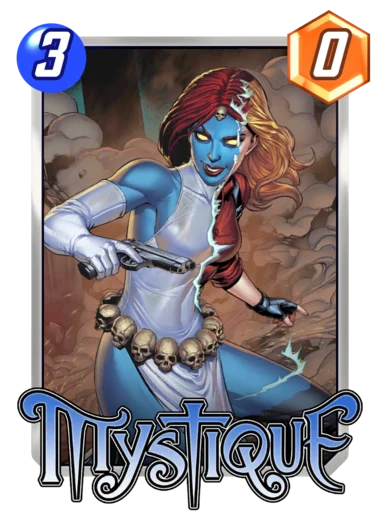 On Reveal: If the last card you played has an Ongoing, copy its text. (if it's in play) On Reveal: If the last card you played has an Ongoing, copy its text. (if it's in play) | Mystique is a staple for any deck built around Ongoing effects, like Patriot and Cerebro. Super flexible, super powerful. |
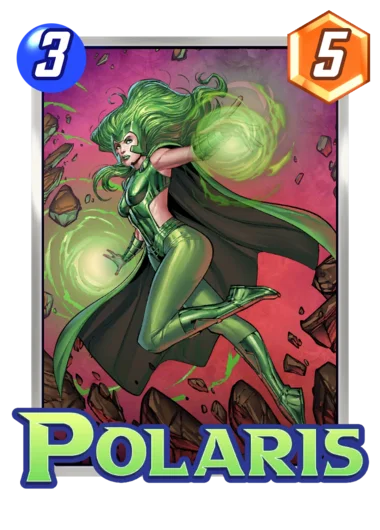 On Reveal: Move an opposing 1 or 2-Cost card to this location. On Reveal: Move an opposing 1 or 2-Cost card to this location. | Polaris is a very good 3-Drop that messes with your opponent's strategy while bringing an above-rate amount of Power to the board. |
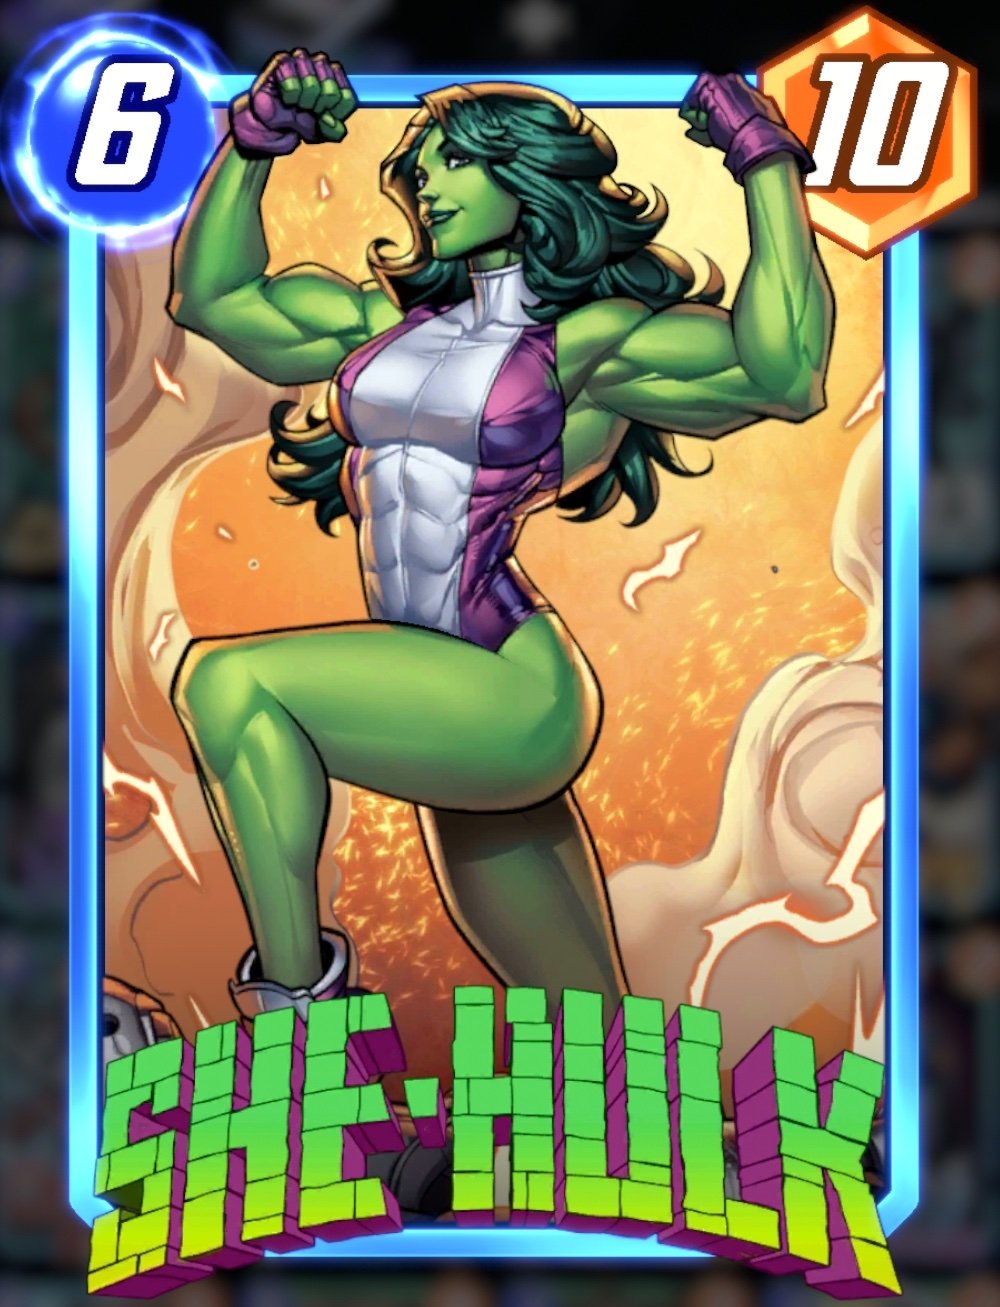 Costs 1 less for each unspent Energy last turn. Costs 1 less for each unspent Energy last turn. | She-Hulk pays off most in decks that often float Energy in the mid-game. She's still good after the nerf to her interaction with Wave. |
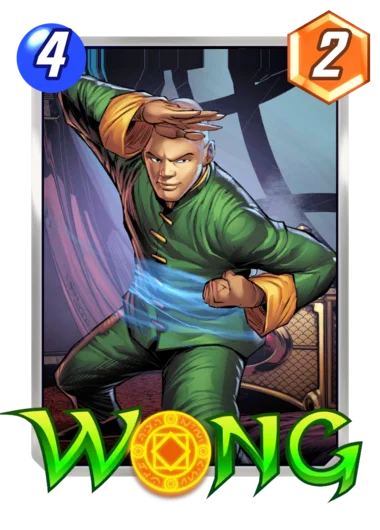 Ongoing: Your On Reveal abilities at this location happen twice. Ongoing: Your On Reveal abilities at this location happen twice. | Wong is an incredibly powerful enabler of shenanigans, even though he telegraphs your intentions and can be disrupted by Cosmo. |
A- Tier: Good for Beginners
These are cards that you can realistically build a strong deck around with no other Series 3 cards, making them perfect for the player who has just reached Series 3. If that describes you, this tier jumps ahead of A Tier.
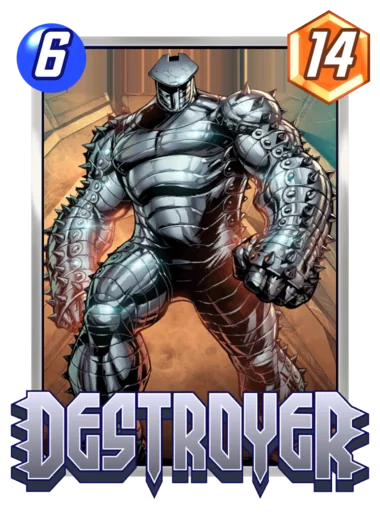 On Reveal: Destroy your other cards. On Reveal: Destroy your other cards. | Destroyer is a premium finisher for one of the most reliable budget lists, Ongoing Destroyer, and is a great choice as that first Series 3 choice. |
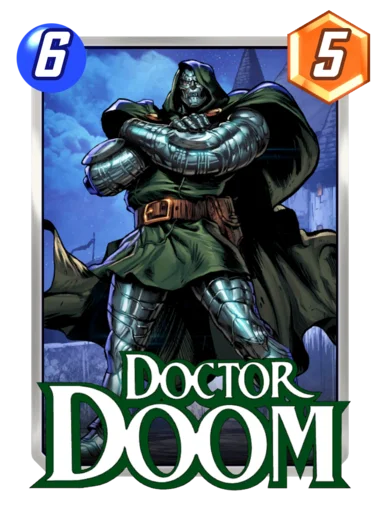 On Reveal: Add a 4-Power Doombot to each other location. On Reveal: Add a 4-Power Doombot to each other location. | Doctor Doom has a solid argument for best 6-Drop in the game, giving coverage in all three locations and can be included as the top-end of any homebrew budget deck. |
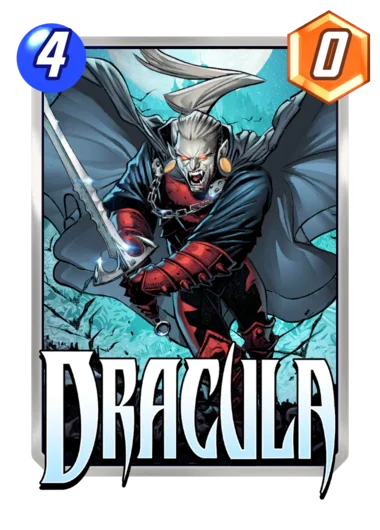 After the final turn, discard a card from your hand. This has its Power. After the final turn, discard a card from your hand. This has its Power. | Dracula is a good option for those early in Series 3 because he works so well with The Infinaut, and it isn't too hard to construct a deck that can isolate something big for him to discard. |
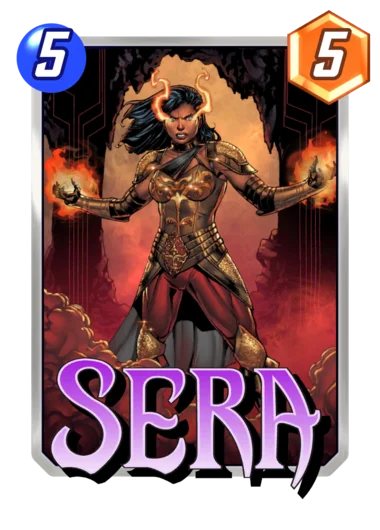 Ongoing: Cards in your hand cost 1 less. (minimum 1) Ongoing: Cards in your hand cost 1 less. (minimum 1) | Sera is one of the best cards to get early in your Series 3 journey: she doesn't rely on other Series 3 cards for power and makes a variety of budget decks better. |
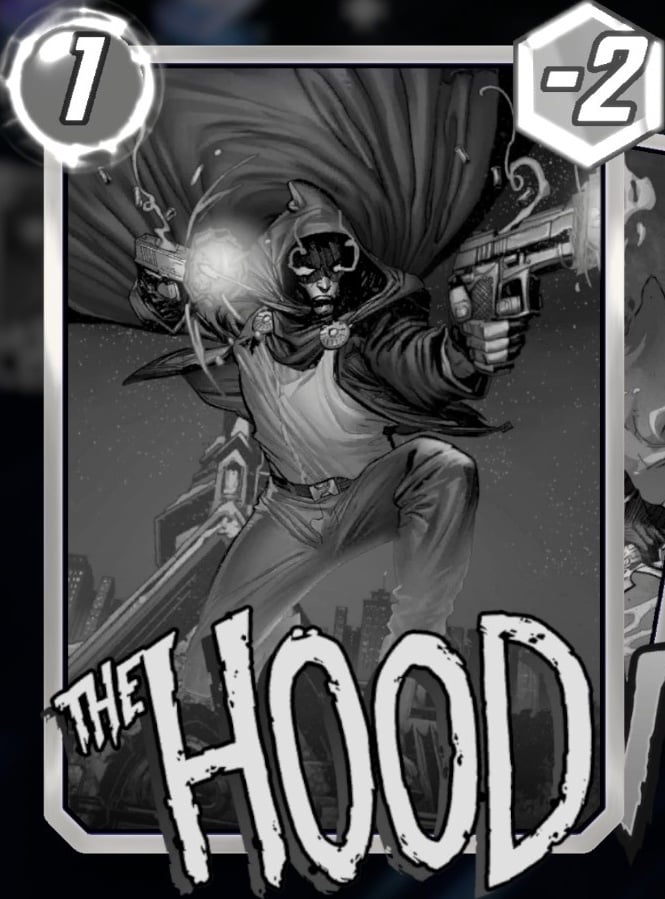 On Reveal: Add a Demon to your hand. On Reveal: Add a Demon to your hand. | The Hood is good fodder for Destroy decks, most of which can be built with just Series 1 and 2 cards. It's also pretty painless to slide him into any deck for the 6 Power Demon he provides. |
B Tier: Archetype Unlockers
If you want to play a certain deck, these are the cards to target. Each one is the namesake and engine for synergistic archetypes that cannot be run without them.
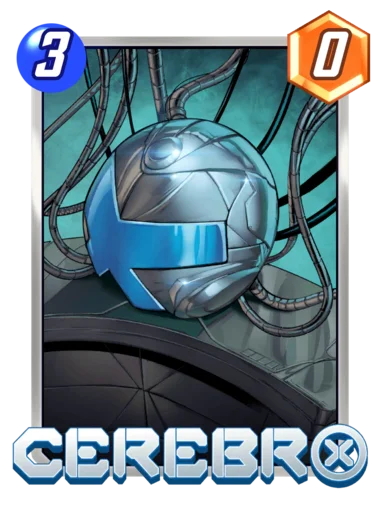 Ongoing: Your highest power cards have +2 Power. Ongoing: Your highest power cards have +2 Power. | Cerebro decks are consistently solid choices for laddering, and can be built with a variety of Series 1 and 2 cards, which you can upgrade as you slowly grow your Collection. |
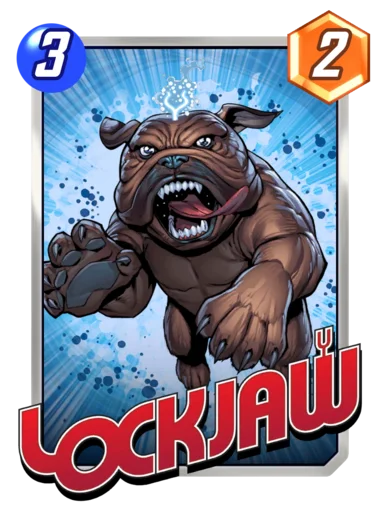 After you play a card here, swap it with a card in your deck. (once per turn) After you play a card here, swap it with a card in your deck. (once per turn) | Lockjaw is at his best if you have Wasp or Thor, but can see play with just a couple of 1-Drops and some big bodies in deck. |
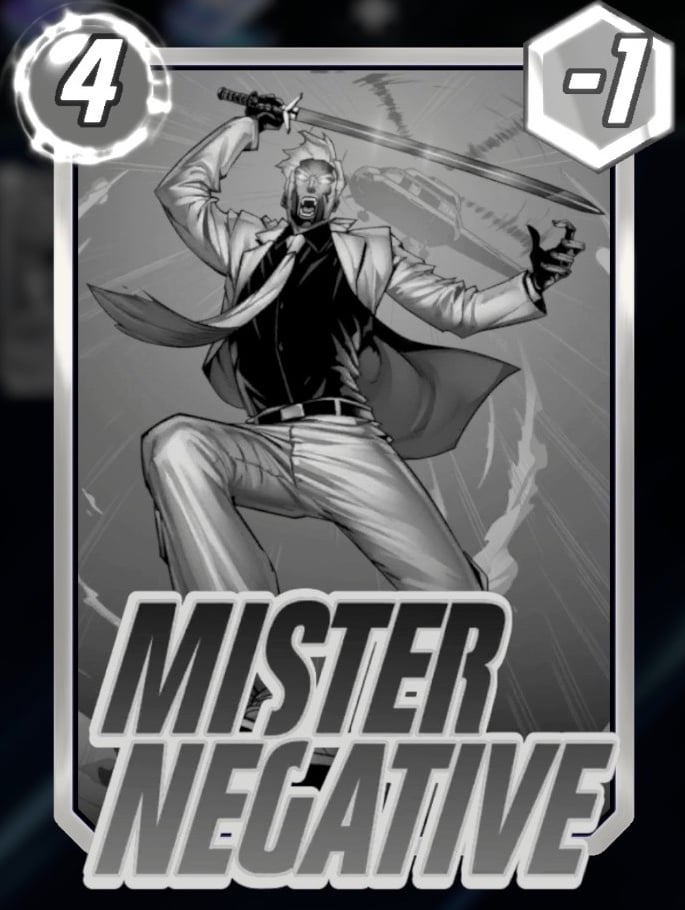 On Reveal: Swap the Power and Cost of all cards in your deck. On Reveal: Swap the Power and Cost of all cards in your deck. | Mister Negative has instant synergy with Iron Man and Ironheart. Very inconsistent, but a lot of fun. |
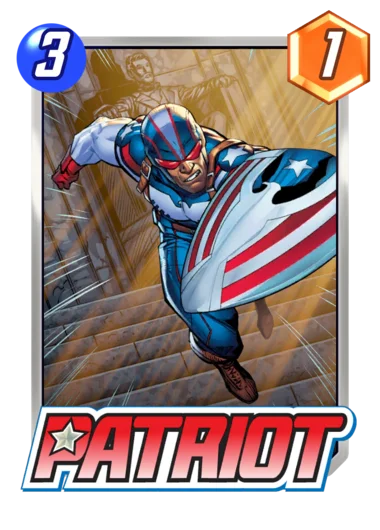 Ongoing: Your cards with no abilities have +2 Power. Ongoing: Your cards with no abilities have +2 Power. | Patriot is a powerful Ongoing buff for all those cards from Series 1 that you thought would never have a use. Works better once you have Mystique, but Onslaught can stand in until then. |
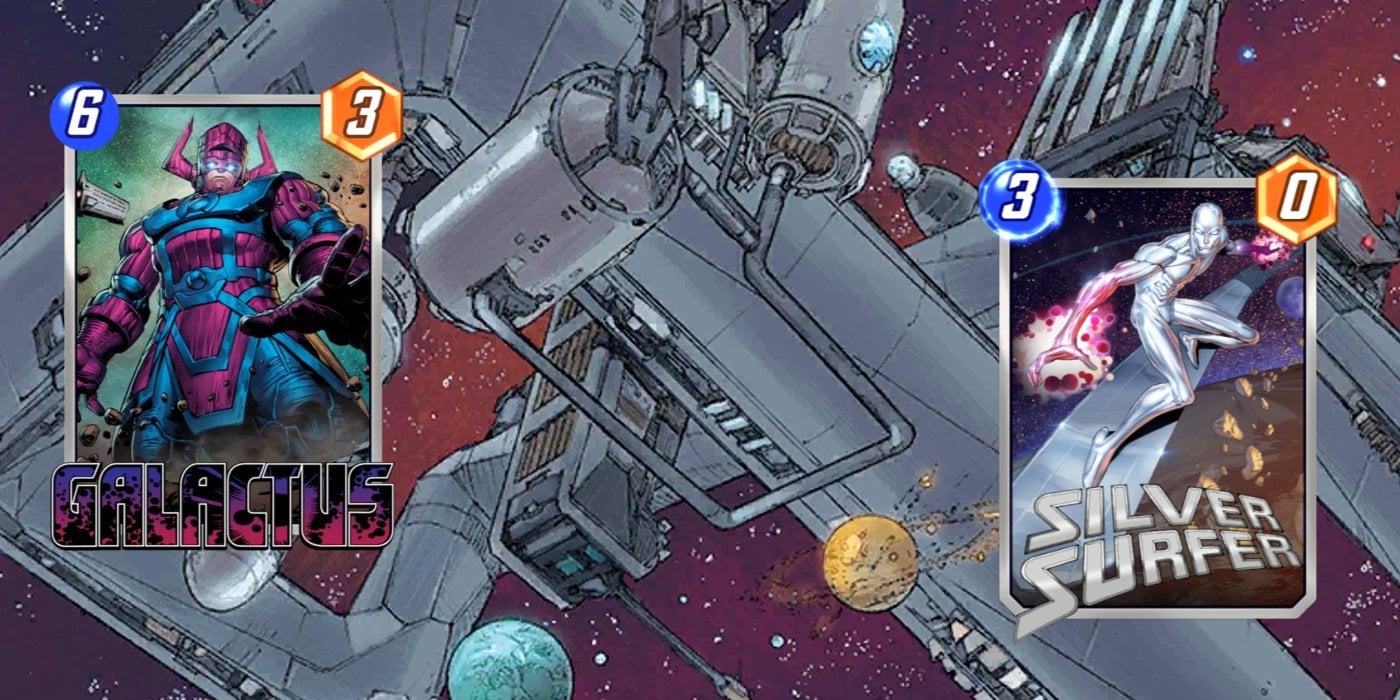
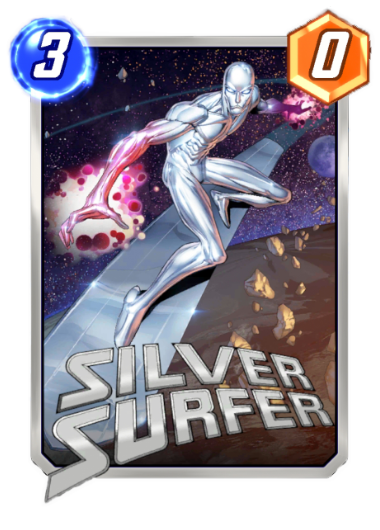 On Reveal: Give your other 3-Cost cards +2 Power. On Reveal: Give your other 3-Cost cards +2 Power. | Silver Surfer is very clearly the card you need to play 3-Cost tribal decks, which are still a good option with which to climb. |
C+ Tier: Powerful, in the Right Deck
These cards are very good... in the right situation. Most decks that can make the best use of them are already packed with Series 3 cards, making these good choices only if they're the last card you need for a particular strategy.
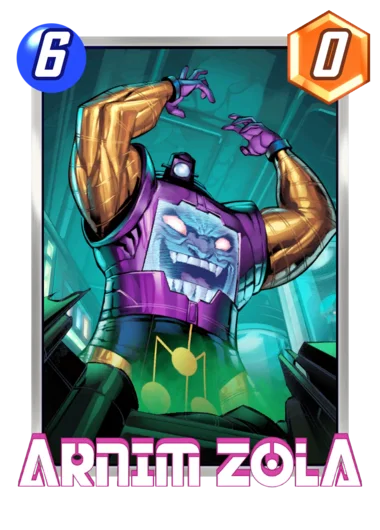 On Reveal: Destroy a random friendly card here; add copies of it to the other locations. On Reveal: Destroy a random friendly card here; add copies of it to the other locations. | Arnim Zola is a unique 6-Drop that requires a few turns of set-up to take full advantage of, but who plays exceptionally well with a variety of cards. |
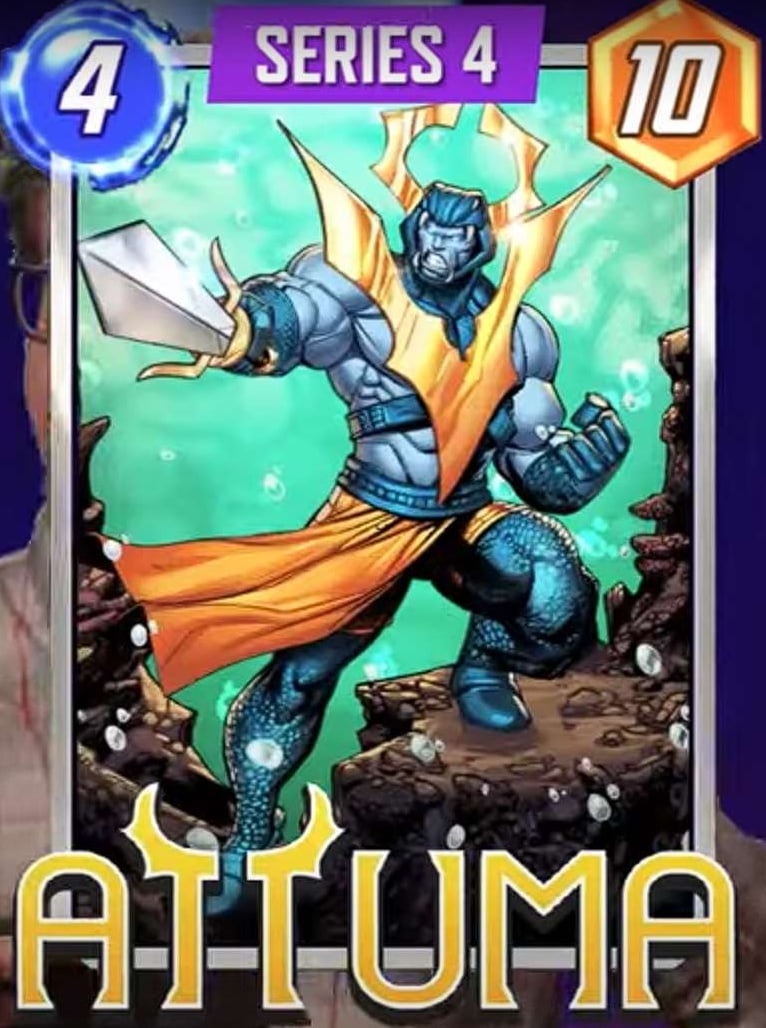 If you have another card here at the end of your turn, destroy this. If you have another card here at the end of your turn, destroy this. | Attuma often needs Armor to cancel out his downside, but he's also a great card for Zero decks. |
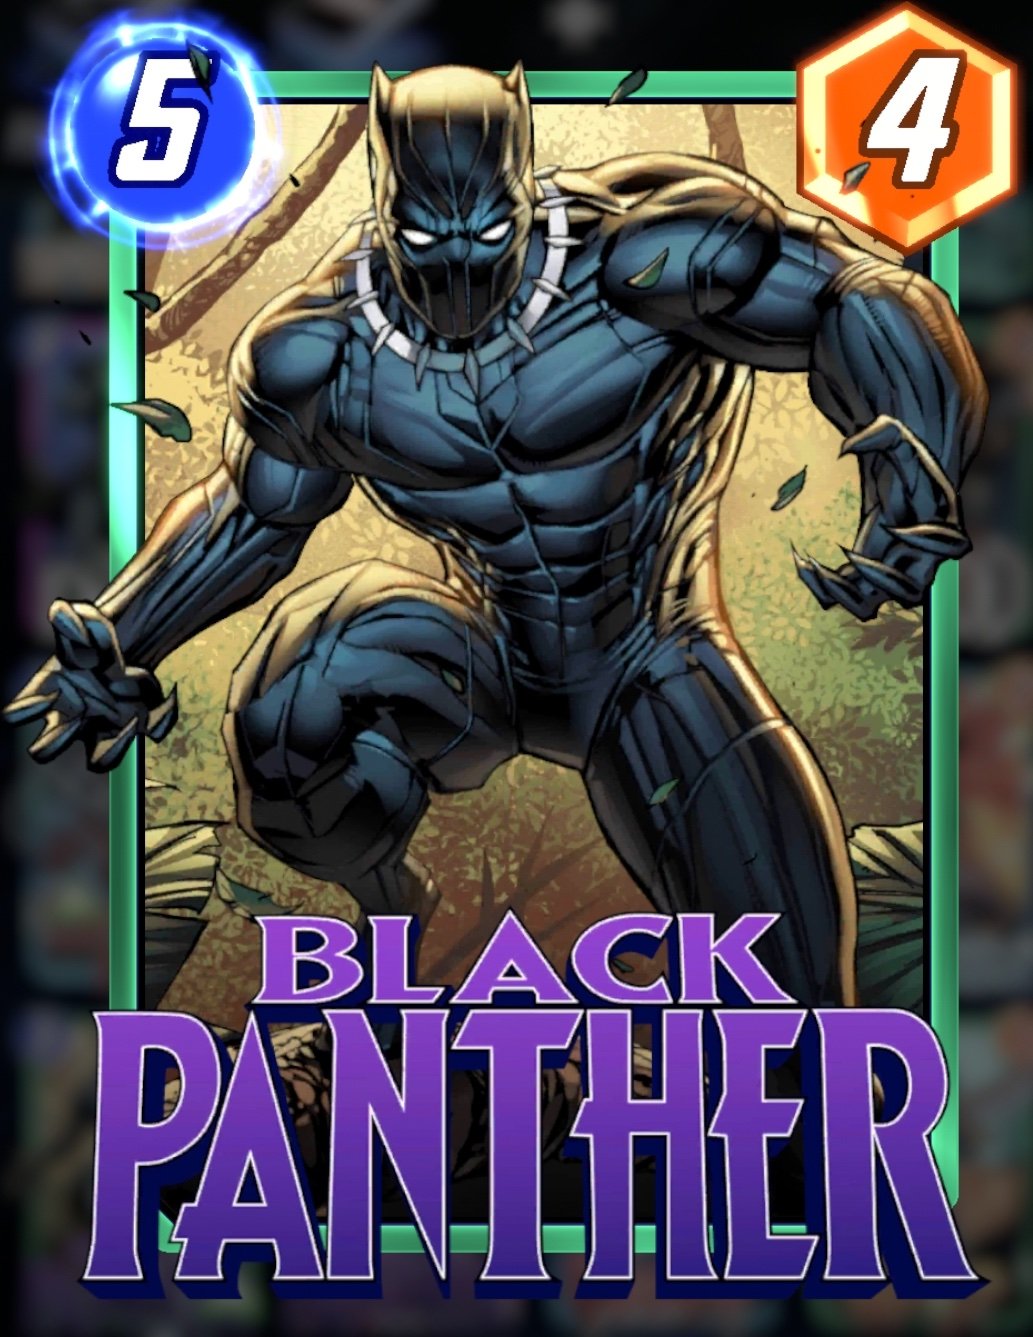 On Reveal: Double this card's Power. On Reveal: Double this card's Power. | Black Panther has strong synergy with Wong and Arnim Zola, and can be a fun pick-up if you have those cards already. |
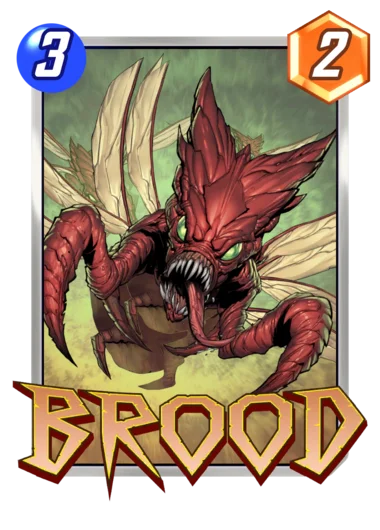 On Reveal: Add 2 Broodlings to this location with the same Power. On Reveal: Add 2 Broodlings to this location with the same Power. | Brood was a meta staple before Silver Surfer was changed, but it's still a fine addition to Cerebro and Patriot decks. |
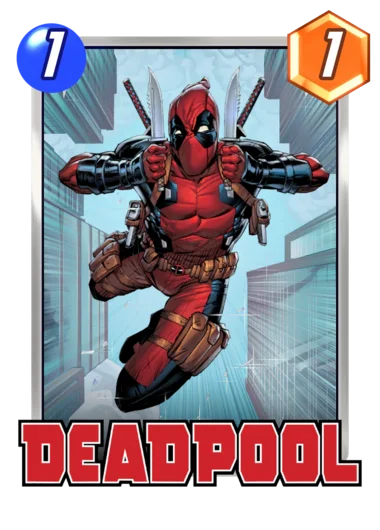 When this card is destroyed, return it to your hand with double the power. When this card is destroyed, return it to your hand with double the power. | Deadpool is OK in vanilla destroy decks, and is at his best with Venom and Taskmaster. |
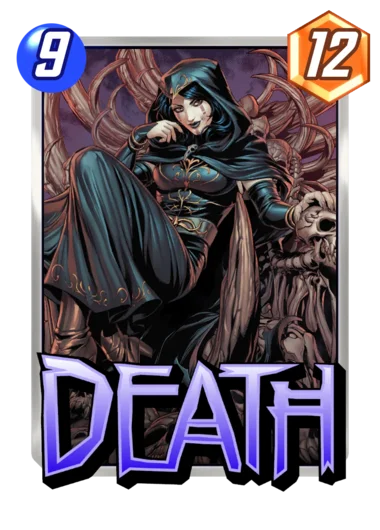 Cost 1 less for each card destroyed this game. Cost 1 less for each card destroyed this game. | Death is great top-end for destroy decks, but the nerf to Wave has destroyed her role as a source of free Power on the final turn. |
 On Reveal: Bring back one of your discarded cards (to this location). On Reveal: Bring back one of your discarded cards (to this location). | Ghost Rider has out-of-the-box synergy with Lady Sif and The Infinaut. A good Discard payoff, if you're into highrolls. |
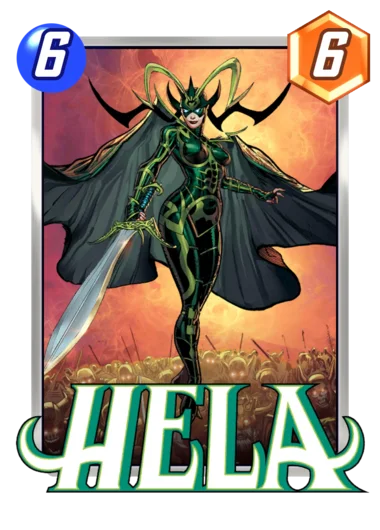 On Reveal: Play all cards you discarded from your hand to random locations. On Reveal: Play all cards you discarded from your hand to random locations. | Hela is very all-or-nothing, and requires a deck tailor-made for her. When she works, she really works. |
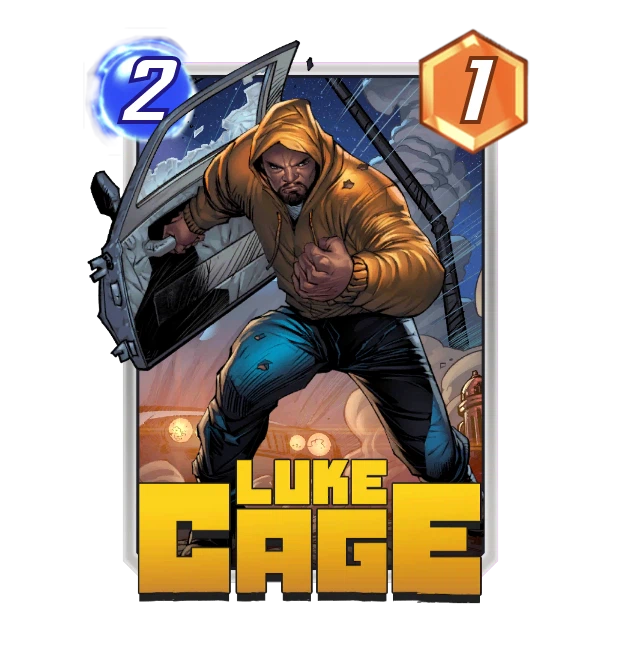 Ongoing: Your cards can't have their Power reduced. Ongoing: Your cards can't have their Power reduced. | The overabundance of High Evolutionary decks makes Luke Cage a reliable tech card even in decks that don't have Hazmat - but is really good with the fellow 2-Drop. |
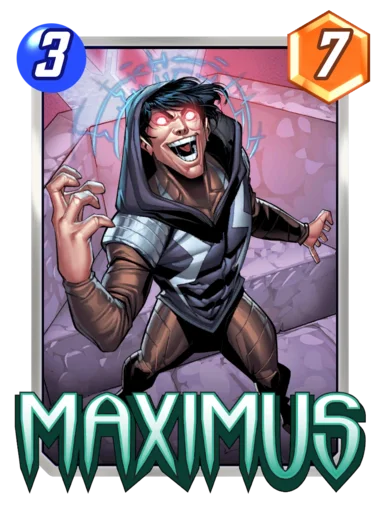 On Reveal: Your opponent draws 2 cards. On Reveal: Your opponent draws 2 cards. | Maximus is a very overstatted 3-Drop whose drawback only sometimes matters. Surfer is his best friend, but you can sometimes use him in other decks. |
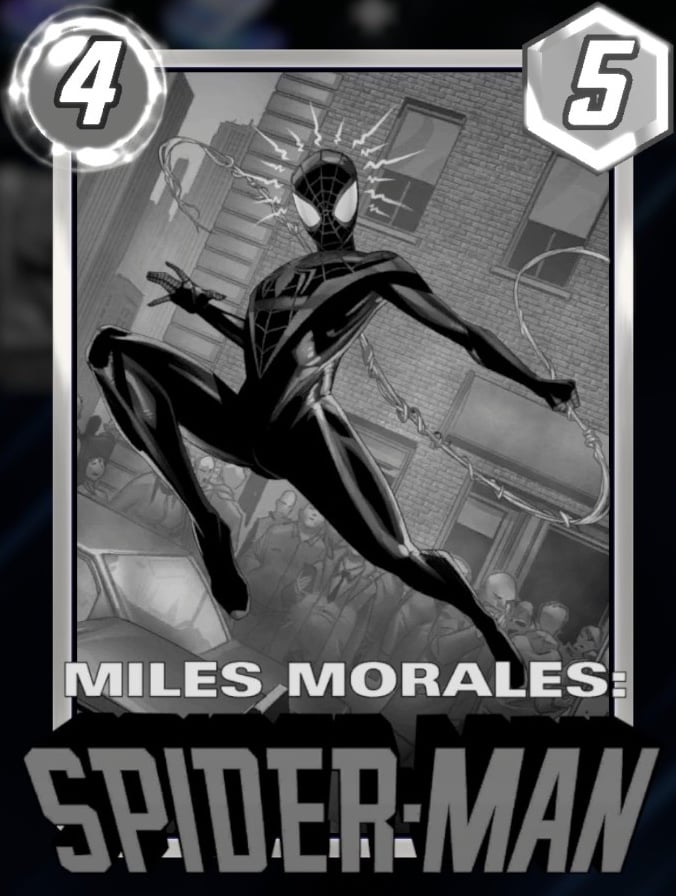 If a card moved last turn, this costs 1. If a card moved last turn, this costs 1. | The recent addition of strong Move cards brings Miles up a few Tiers as he turns incidental movement into powerful tempo. |
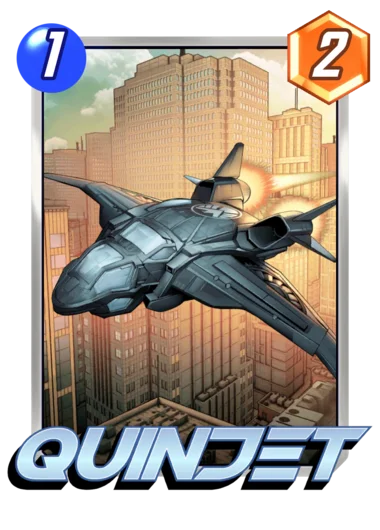 Ongoing: Cards that didn’t start in your deck cost 1 less. (minimum 1) Ongoing: Cards that didn’t start in your deck cost 1 less. (minimum 1) | Quinjet is a good 1-Drop that works well in both Ongoing and Collector decks. |
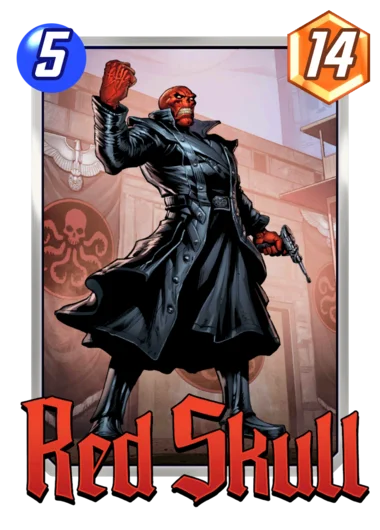 Ongoing: Enemy cards at this location have +2 Power. Ongoing: Enemy cards at this location have +2 Power. | Red Skull is fantastic once you have Zero, Taskmaster, or Dracula. |
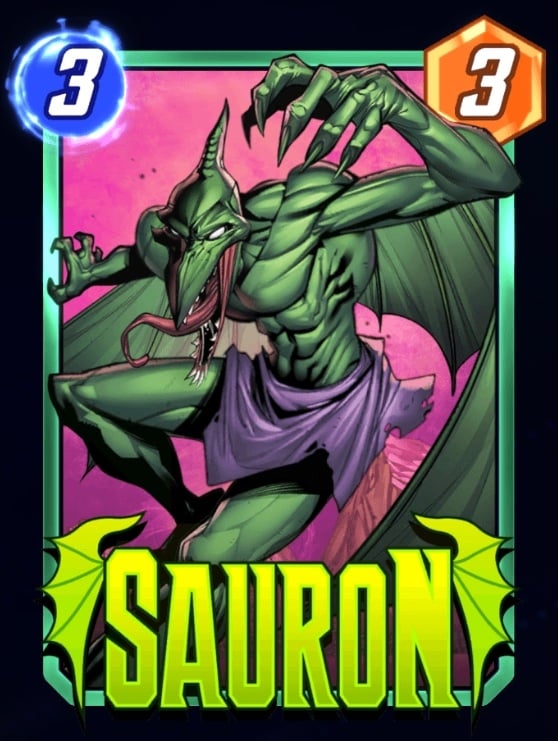 On Reveal: Remove the abilities from all Ongoing cards in your hand and deck. On Reveal: Remove the abilities from all Ongoing cards in your hand and deck. | Sauron plays well with high-Power Ongoing cards with downside like Ebony Maw and Red Skull. |
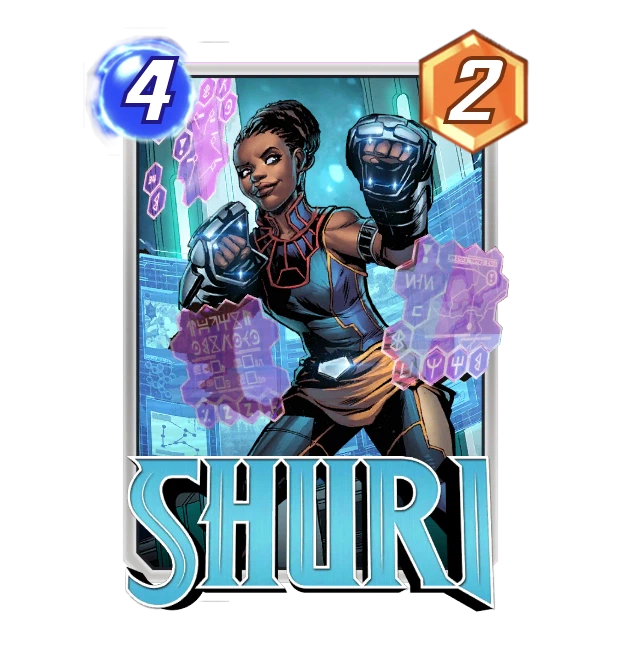 On Reveal: If you play your next card here, double its Power. On Reveal: If you play your next card here, double its Power. | Shuri has taken a slight hit in Power from her recent nerf, but she still retains some of her potency (even if her play patterns have become more predictable). |
 On Reveal: Set this card’s Power equal to that of the last card you played. (if that card's in play) On Reveal: Set this card’s Power equal to that of the last card you played. (if that card's in play) | Taskmaster pairs well with any big bodies, showing off his strength the most in Shuri decks. |
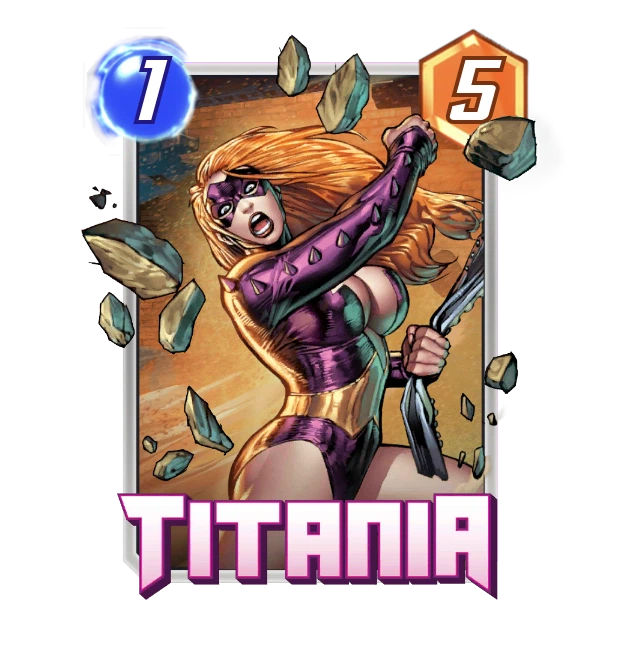 When ANY card is played at this location, this card switches sides. When ANY card is played at this location, this card switches sides. | Titania is a big 1-Drop that's usually a good choice for decks that run a lot of cheap cards, but works best with Zero. |
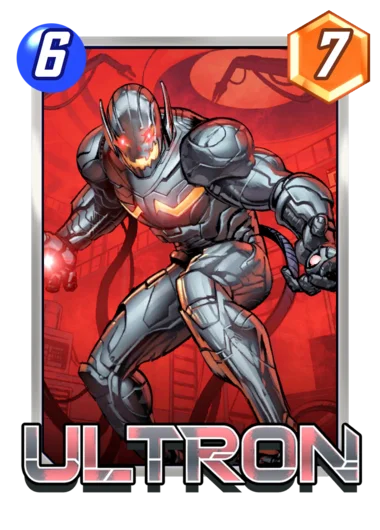 On Reveal: Create four 1-Power Drones at each other location. On Reveal: Create four 1-Power Drones at each other location. | Ultron is the best 6-Drop to play with Patriot, and isn't terrible in Zoo decks. |
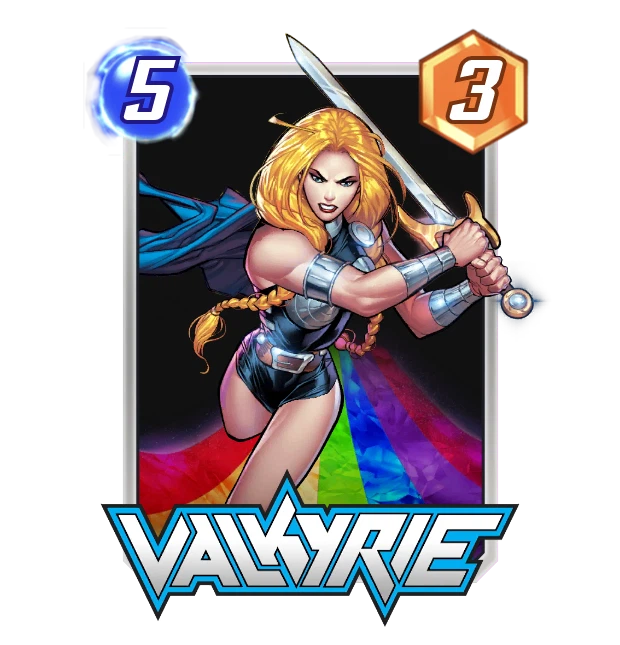 On Reveal: Set ALL cards at this location to 3 Power. On Reveal: Set ALL cards at this location to 3 Power. | Valkyrie is a powerful answer to large minions in control strategies, while also synergizing with small cards or Cerebro. |
 On Reveal: Destroy your other cards at this location. Add their Power to this card. On Reveal: Destroy your other cards at this location. Add their Power to this card. | Venom is generally outclassed by Deathlok, except in decks that can feed him large stats like Deadpool and Typhoid Mary. |
 On Reveal: All cards cost 4 until the end of next turn. On Reveal: All cards cost 4 until the end of next turn. | Wave lost her synergy with Death and She-Hulk, and is now mostly good for cheating out a 6-Drop like Galactus on turn 4. |
 On Reveal: Remove the abilities on the next card you play. On Reveal: Remove the abilities on the next card you play. | Zero is especially good with Red Skull or Typhoid Mary, but works just fine with Ebony Maw and Lizard. |
C Tier: Solid Options
These cards are good to have in your collection because they can painlessly be slotted into a variety of decks. They don't make things go by themselves, but they're not bad to have hanging around. If you're looking to claim one, it should be because your Series 3 collection is almost complete.
 On Reveal: Add a random 4-cost and 5-cost card to your hand. On Reveal: Add a random 4-cost and 5-cost card to your hand. | Agent Coulson replaces himself with two cards, making him a great addition to Collector/Dino decks and he has nice synergy with Quinjet. |
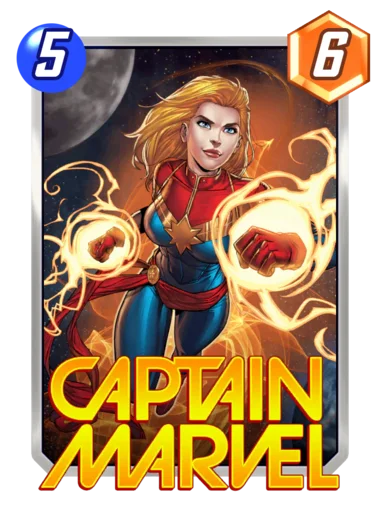 After the final turn, move to a location that wins you the game. (If possible) After the final turn, move to a location that wins you the game. (If possible) | Captain Marvel can sometimes sneak a win in Control-heavy lists, or with the right location combinations. |
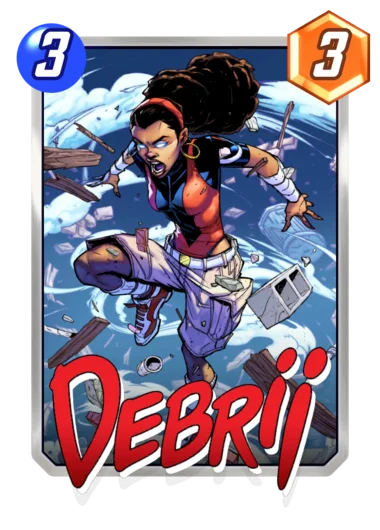 On Reveal: Add a Rock to each other location, for both players. On Reveal: Add a Rock to each other location, for both players. | Debrii has a semi-regular home in Patriot decks, with enough legs for "clutter" Control lists. |
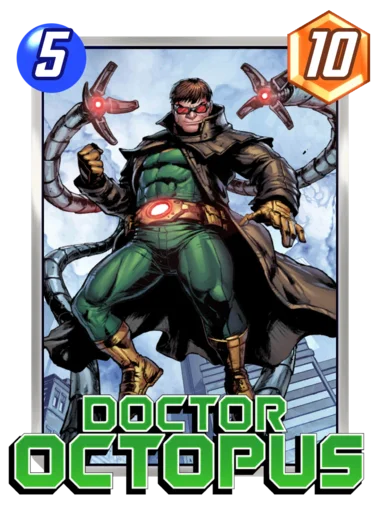 On Reveal: Pull 4 random cards from your opponent’s hand to their side of this location. On Reveal: Pull 4 random cards from your opponent’s hand to their side of this location. | Doctor Octopus can screw your opponent up in obnoxious Control shells, but currently sees play mainly in Galactus decks. |
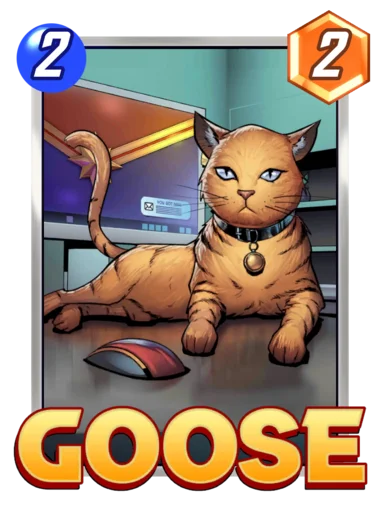 Ongoing: Nobody can play 4, 5 or 6-Cost cards at this location. Ongoing: Nobody can play 4, 5 or 6-Cost cards at this location. | Goose has Ongoing synergies while also making it harder for your opponent to contest his location. |
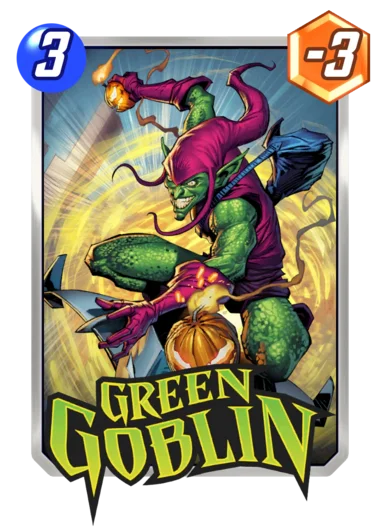 On Reveal: Your opponent gains control of this. On Reveal: Your opponent gains control of this. | Green Goblin is efficient disruption, filling up your opponent's location and bucking their strategy. |
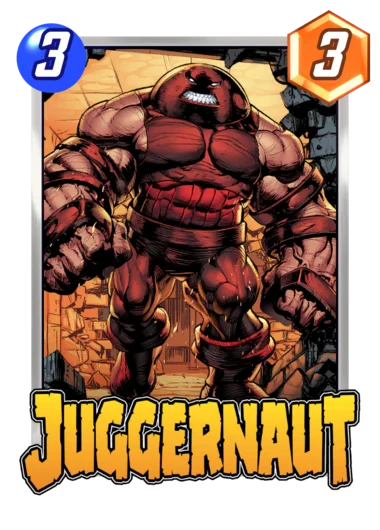 On Reveal: If your opponent played cards here this turn, move them randomly. On Reveal: If your opponent played cards here this turn, move them randomly. | Juggernaut is useful, and has particular synergy with Storm. |
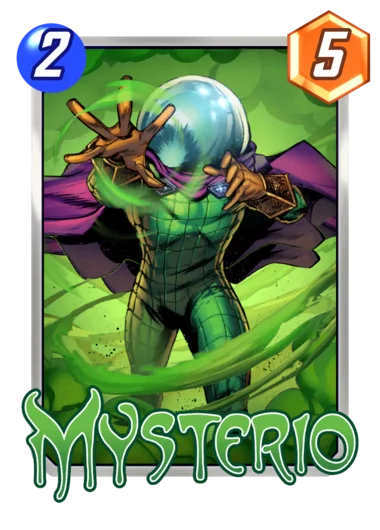 As you play this, play Illusions to other locations. Disguise this as an Illusion until the game ends. As you play this, play Illusions to other locations. Disguise this as an Illusion until the game ends. | Mysterio is best in Destroy decks that can eat his Illusions, but sees play in Patriot decks sometimes. |
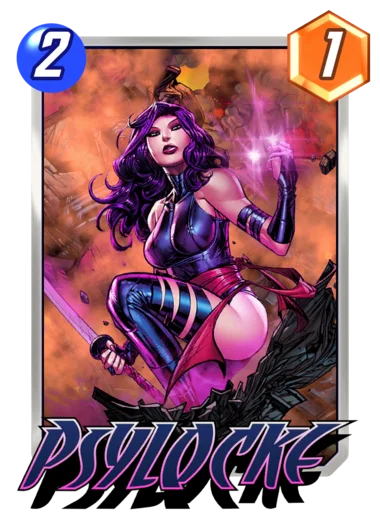 On Reveal: Next turn, you get +1 Energy. On Reveal: Next turn, you get +1 Energy. | Psylocke is at her best in decks that need to play a 4-Drop a turn early, like Mister Negative. She's the second-best Ramp card in MARVEL SNAP. |
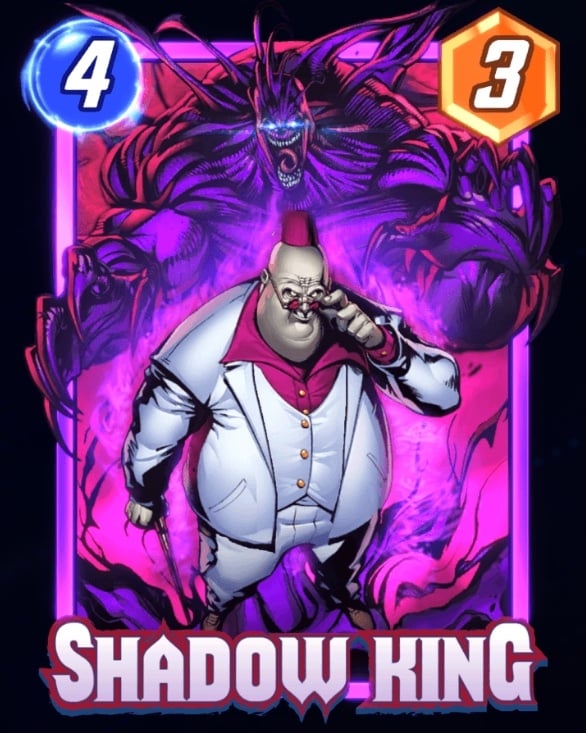 On Reveal: Set all cards here to their original base Power. On Reveal: Set all cards here to their original base Power. | Shadow King's change to 3-Cost gave him a home in Silver Surfer decks; and he's fine in other archetypes. |
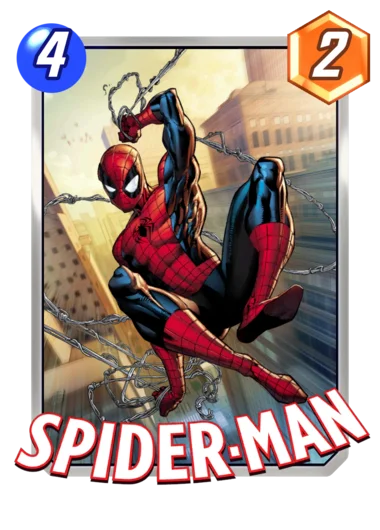 On Reveal: Your opponent can’t play cards at this location next turn. On Reveal: Your opponent can’t play cards at this location next turn. | Spider-Man is a decent deny effect who was recently nerfed for being a bit too powerful; it's still decent. |
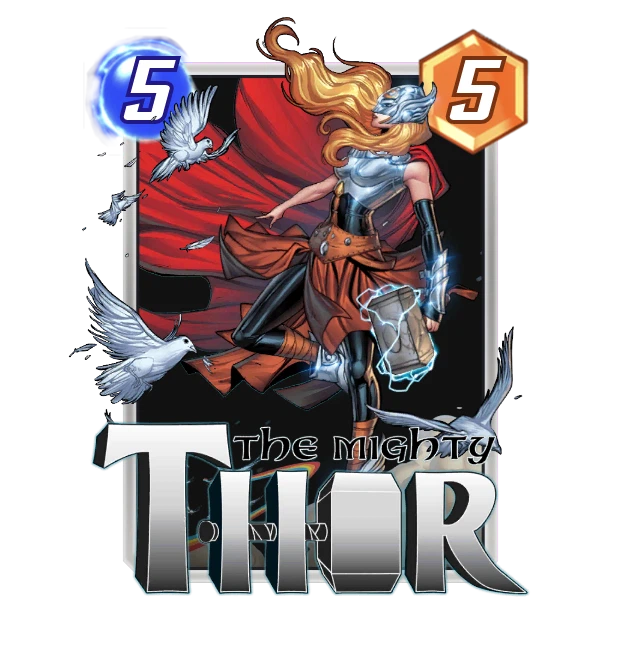
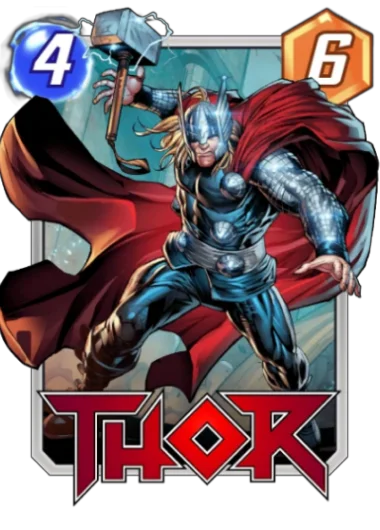 On Reveal: Shuffle Mjölnir into your deck. On Reveal: Shuffle Mjölnir into your deck. | Thor is a 3-Drop with upside who shines in Lockjaw decks thanks to Mjolnir. |
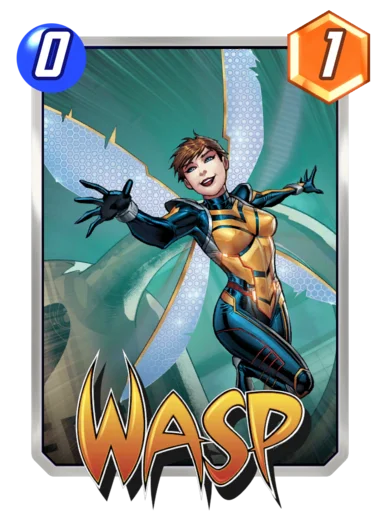 | Wasp is great in combination with Lockjaw and Patriot, and has exploded in popularity among players who own High Evolutionary. |
D Tier: Flexibly Inflexible
Many of these cards can and do see play in good lists. They're nice to have, but are only necessary inclusions in the most specialized of decks, making it hard to justify spending claiming them over cards in a higher Tier.
 On Reveal: If the last card you played has an On Reveal, copy its text. (if it's in play) On Reveal: If the last card you played has an On Reveal, copy its text. (if it's in play) | Absorbing Man is good at copying a variety of On Reveal effects, but needs a bit of setup to be good. |
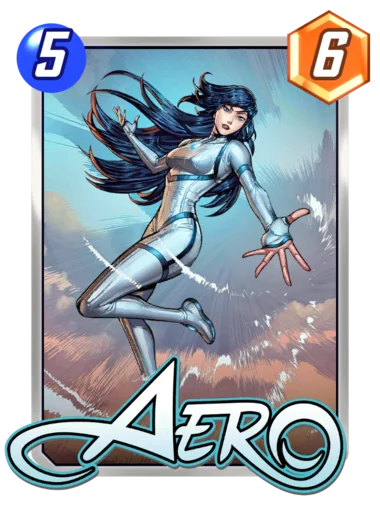 On Reveal: Move the last enemy card played this turn to this location. On Reveal: Move the last enemy card played this turn to this location. | Aero's no longer the powerhouse she once was. |
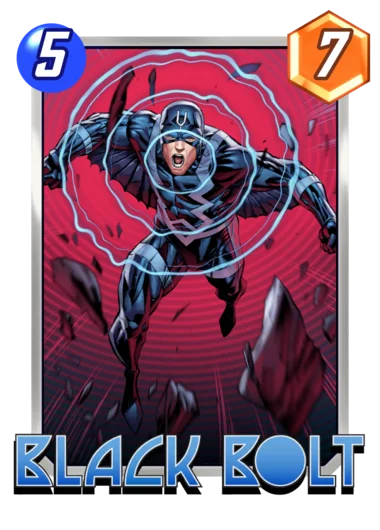 On Reveal: Discard the lowest-cost card from your opponent's hand. On Reveal: Discard the lowest-cost card from your opponent's hand. | Black Bolt is disruption that only matters if you happen to want to play with Stature, and is otherwise not worth the time. |
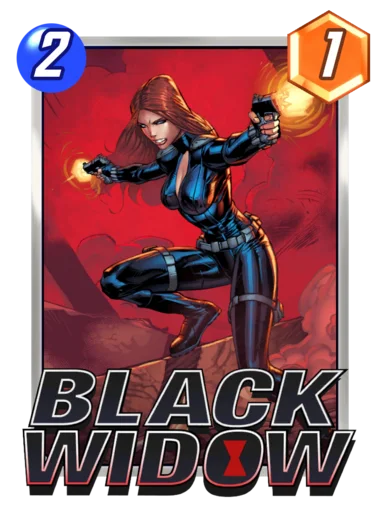 On Reveal: Add a Widow’s Bite to your opponent’s hand. On Reveal: Add a Widow’s Bite to your opponent’s hand. | Black Widow is good at messing with your opponent. A feasible choice, but there are better 2-Drops to claim. |
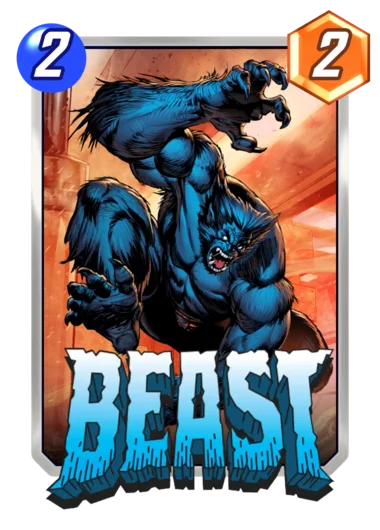 On Reveal: Return your other cards at this location to your hand. They cost 1 less. On Reveal: Return your other cards at this location to your hand. They cost 1 less. | Beast is a lot of fun in Bounce decks, but his recent nerf makes a it bit harder to weave him into turns. |
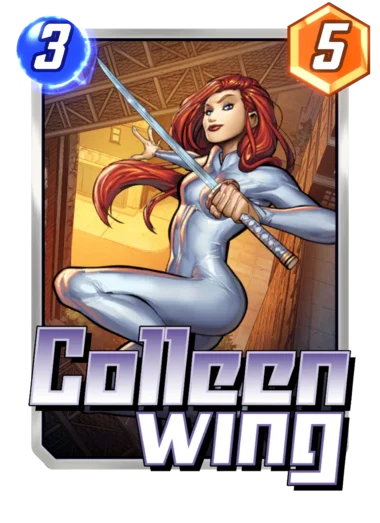 On Reveal: Discard the lowest-cost card from your hand. On Reveal: Discard the lowest-cost card from your hand. | Colleen Wing is a good Discard option, but fits into no other decks. |
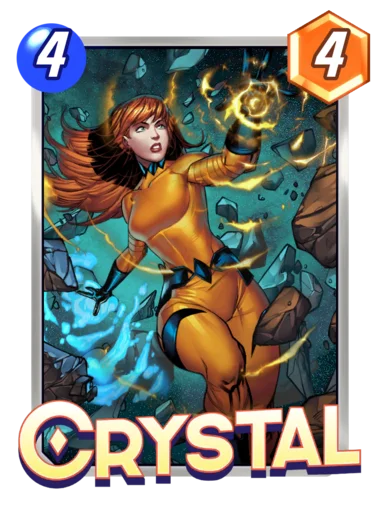 On Reveal: Each player draws a card. On Reveal: Each player draws a card. | Crystal's symmetrical draw effect makes her an interesting choice for certain decks. |
 When this moves to a location, +2 Power for each card your opponent has there. When this moves to a location, +2 Power for each card your opponent has there. | Dagger is at her best in a heavy Movement list, and recently got a small Power buff. |
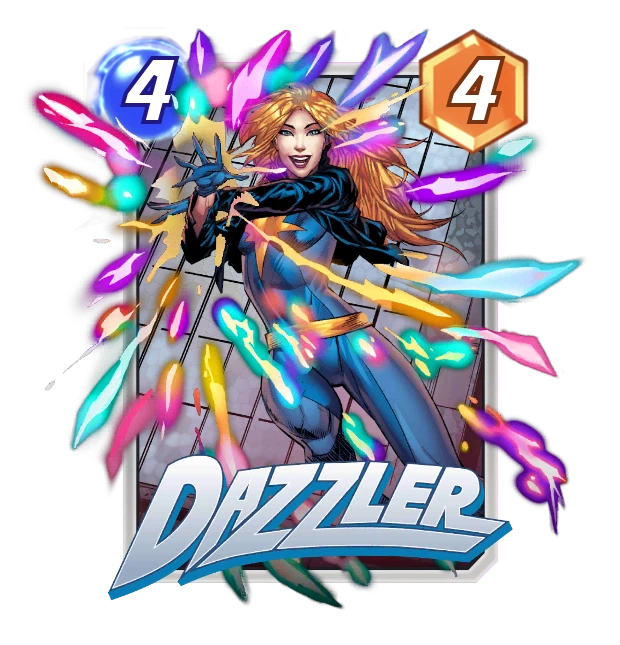 Ongoing: +2 Power for each location that's full on your side. Ongoing: +2 Power for each location that's full on your side. | Dazzler's gotten a bit more efficient and has synergies in Silver Surfer decks. |
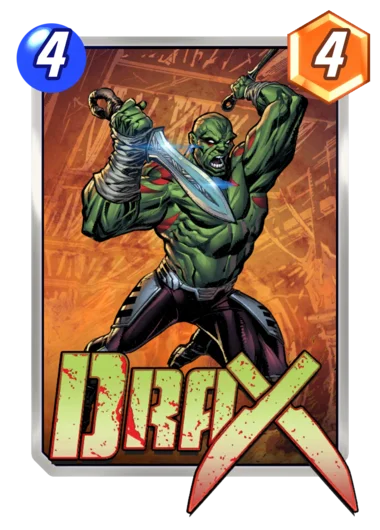 On Reveal: If your opponent played a card here this turn, +2 Power. [4/6] On Reveal: If your opponent played a card here this turn, +2 Power. [4/6] | Drax has one of the higher floors for a Guardian of the Galaxy, and could be fitted into decks that can reliably activate his On Reveal. |
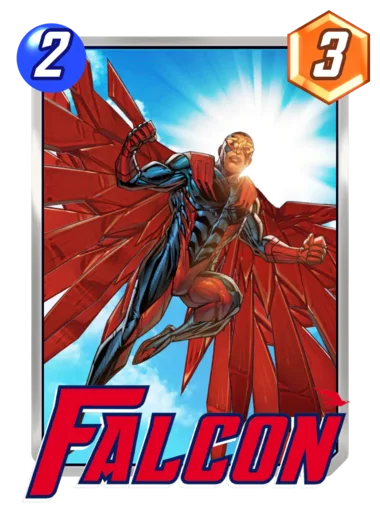 On Reveal: Return your 1-Cost cards to your hand. On Reveal: Return your 1-Cost cards to your hand. | Falcon can sometimes make the cut in Bast decks to bounce back cheap On Reveal cards, and has some play with Thanos's Stones. |
 Discard a card from your hand. Destroy a random enemy card. Discard a card from your hand. Destroy a random enemy card. | Gambit's random destroy effect can be very frustrating (he can, and will, target cards protected by Armor), but is unique upside for discard decks specifically. |
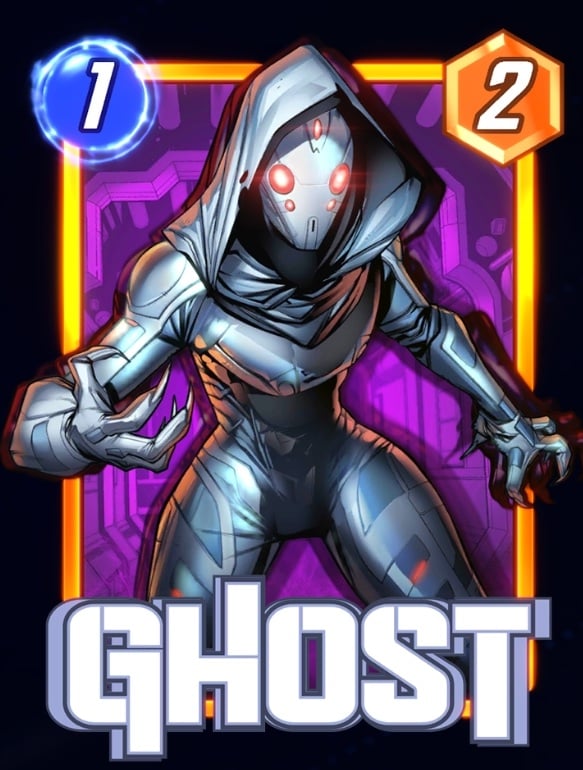 Ongoing: Your cards are always revealed last. (Their On Reveal abilities happen last.) Ongoing: Your cards are always revealed last. (Their On Reveal abilities happen last.) | Ghost's ability has applications, but you should save your choice for something with more of an impact. |
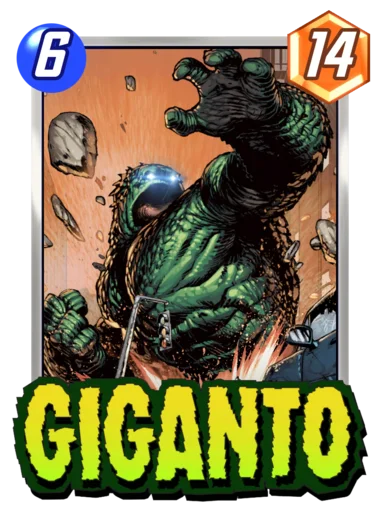 You can only play this at the left location. You can only play this at the left location. | Giganto's big body has some restrictions, but works great in decks that want to cheat big things into play. However, not the best 6-Drop you can claim. |
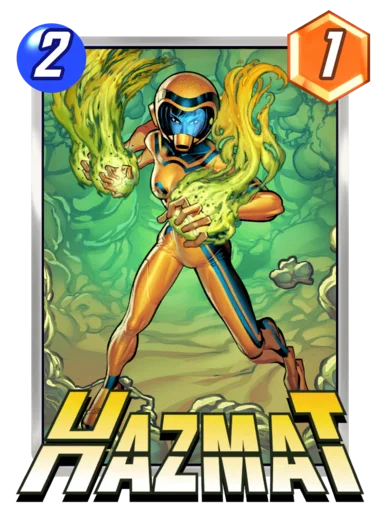 On Reveal: Give all other cards -1 Power. On Reveal: Give all other cards -1 Power. | Hazmat is very good if you have Luke Cage, but difficult to make work without him. |
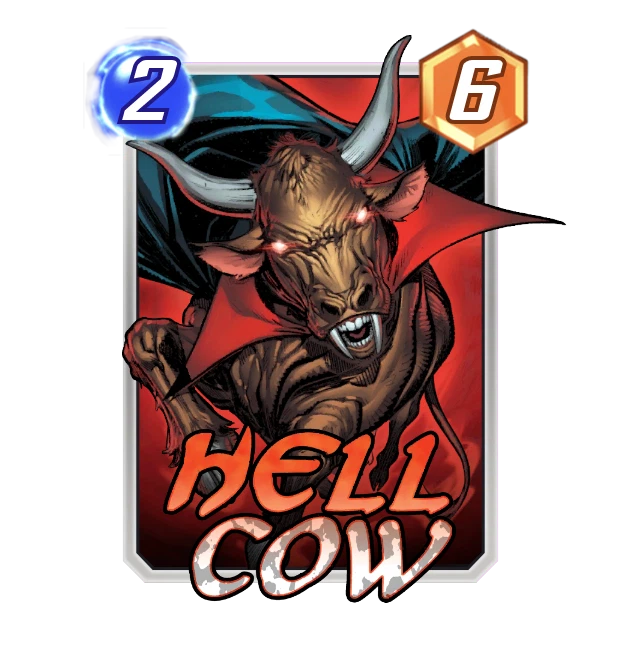 On Reveal: Discard 2 cards from your hand. On Reveal: Discard 2 cards from your hand. | Hellcow is really only good for turbo-discard decks, which are very hit-or-miss. |
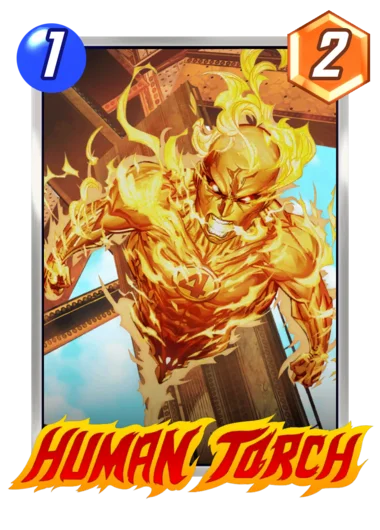 When this moves, double its Power. When this moves, double its Power. | Human Torch is really cool try to in Movement-or-bust lists, but is outshined by most other 1-Drops in non-Movement decks. |
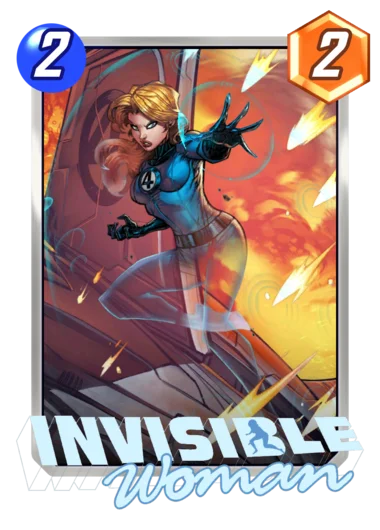 Ongoing: Cards you play here are not revealed until the game ends. Ongoing: Cards you play here are not revealed until the game ends. | Invisible Woman hides a potent synergy from your opponent, but you need that potent synergy first. |
 On Reveal: Draw all cards that Cost 0 from your deck. On Reveal: Draw all cards that Cost 0 from your deck. | Jane Foster has uses, mainly as card draw in decks with Lockjaw and Mister Negative, but isn't necessary even with those strategies. |
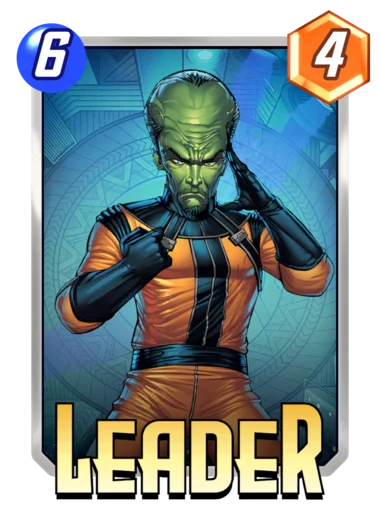 On Reveal: Copy the enemy card(s) with the highest Power played this turn, but on your side. On Reveal: Copy the enemy card(s) with the highest Power played this turn, but on your side. | Leader is outshined by other turn 6 options, as most decks no longer value his ability to copy a big card on the final turn. |
 On Reveal: Add a random 1 or 2-Cost card to your hand. On Reveal: Add a random 1 or 2-Cost card to your hand. | Maria Hill had upside when paired with Quinjet before it was changed, now she's completely outclassed by other "add to hand" cards like Sentinel. |
 Ongoing: If both players have 4 cards at this location, +6 Power. Ongoing: If both players have 4 cards at this location, +6 Power. | Mojo, in theory, is great for Ongoing decks and clutter strategies. In practice, it's a bit difficult to make it worth the include. |
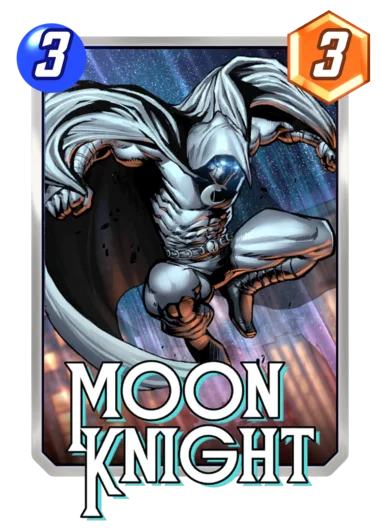 On Reveal: Discard a card from each player’s hand. On Reveal: Discard a card from each player’s hand. | Moon Knight is a fringe option for even the most dedicated discard decks, but has disruptive upside. |
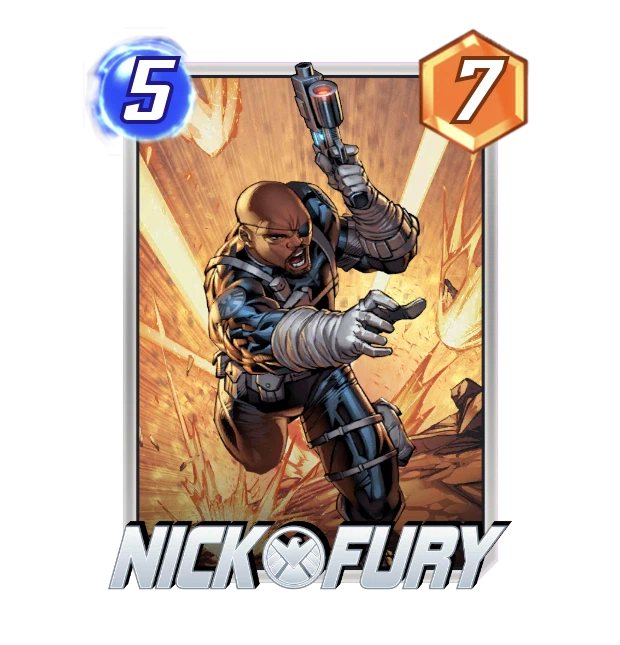 On Reveal: Add 3 random 6-Cost cards to your hand. On Reveal: Add 3 random 6-Cost cards to your hand. | Nick Fury, at 4-Cost, is a lot more interesting for Dino decks and works much better with Quinjet. |
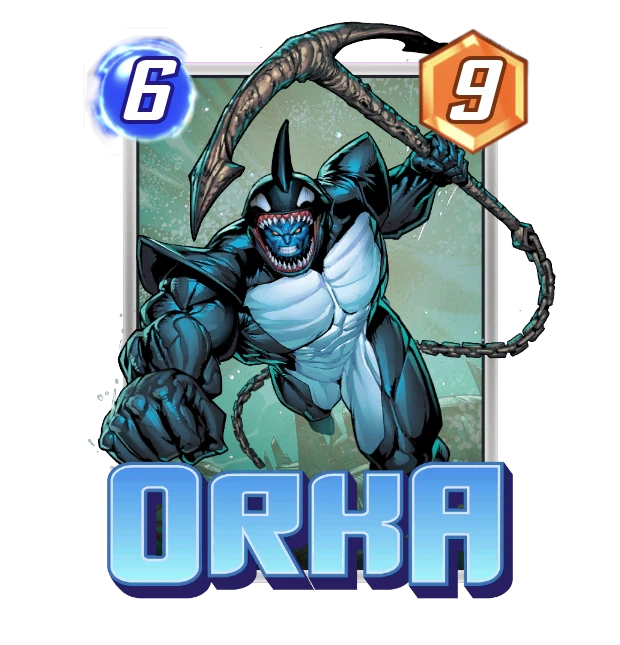 Ongoing: +5 Power if this is your only card here. Ongoing: +5 Power if this is your only card here. | Orka is a pile of stats that can sometimes be relied upon to win a location by himself, but isn't as impactful as other Series 3 6-Drops. |
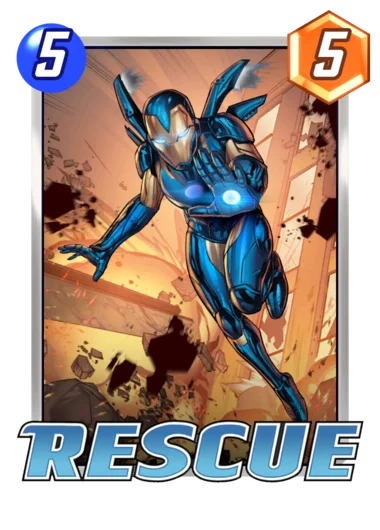 On Reveal: If you play a card here next turn, +5 Power. On Reveal: If you play a card here next turn, +5 Power. | Rescue is a pretty neat 4-Drop, but can make the next turn fairly predictable. |
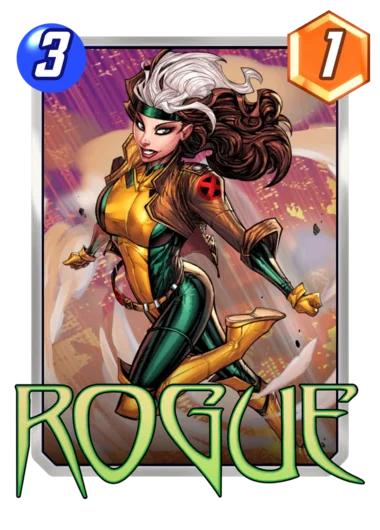 On Reveal: Steal an Ongoing ability from a random enemy card at this location. On Reveal: Steal an Ongoing ability from a random enemy card at this location. | Rogue is a strong counterplay to decks that rely heavily on a specific Ongoing card, but weak against anything else. |
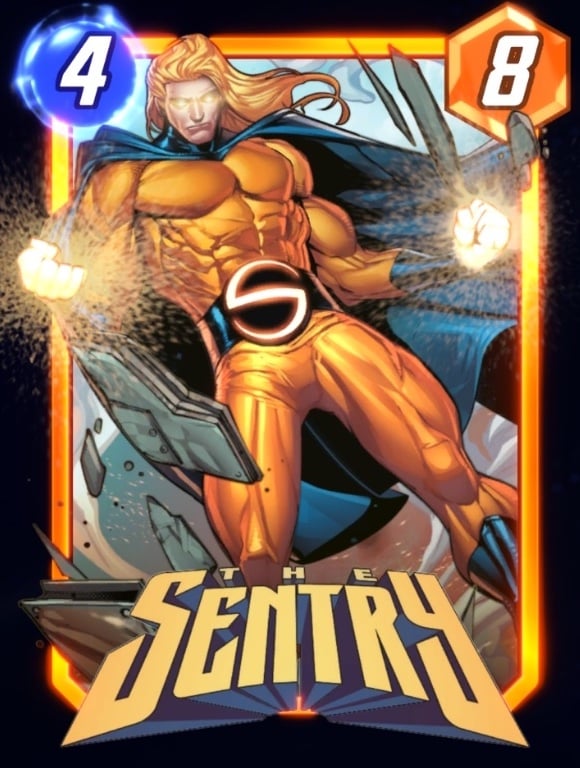 Cannot be played at the right location. On Reveal: Add a -10 Power Void to the right location. Cannot be played at the right location. On Reveal: Add a -10 Power Void to the right location. | The Sentry's Void pairs well with Viper, but he's otherwise too niche to be worth the pick-up. |
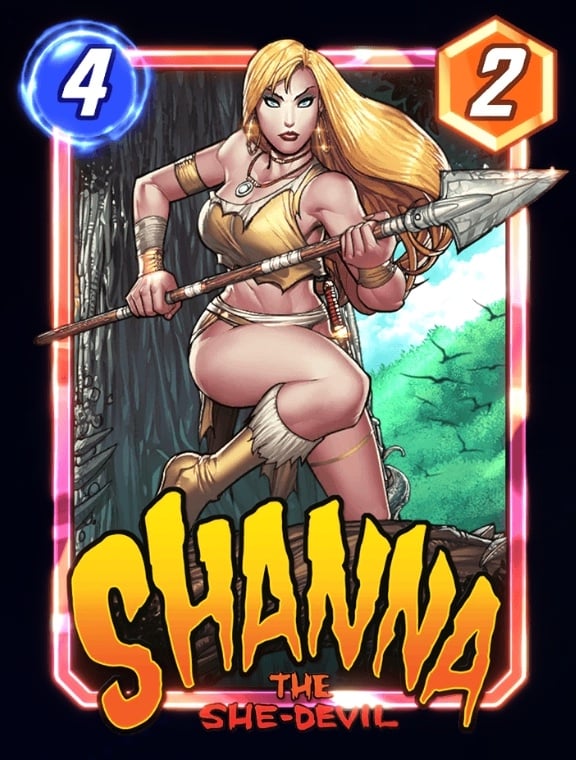 On Reveal: Add a random 1-Cost card to each location. On Reveal: Add a random 1-Cost card to each location. | Shanna just can't quite find a winning niche, and the recent release of less-than-great 1-Drops like Snowguard and Howard the Duck hasn't helped her case. |
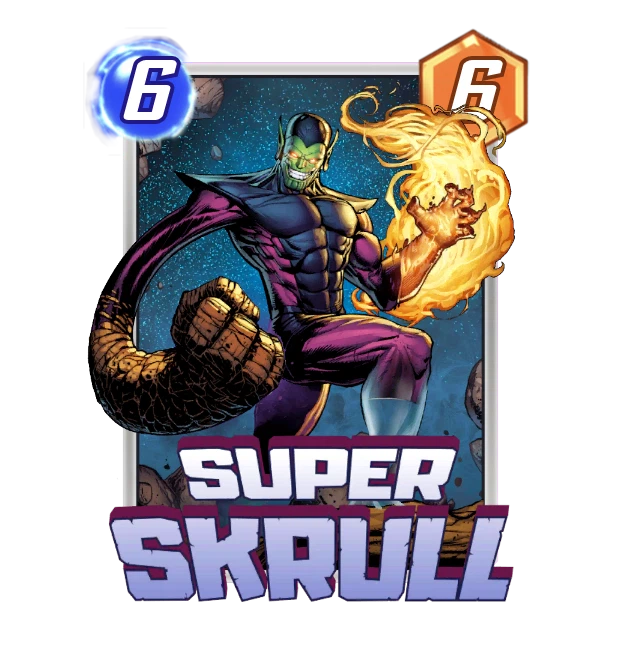 Ongoing: Has the Ongoing effects of all enemy cards. Ongoing: Has the Ongoing effects of all enemy cards. | Super Skrull can counter certain cards in the right meta, but it's hard to picture what that meta looks like. |
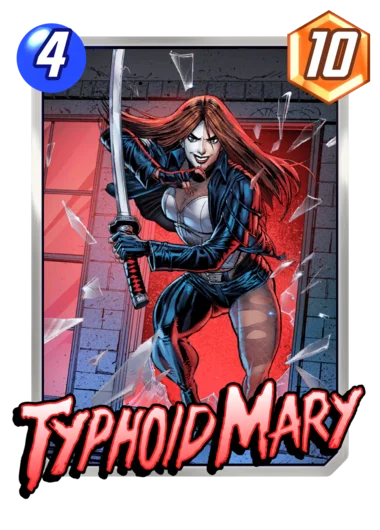 Ongoing: Your other cards have -1 Power. Ongoing: Your other cards have -1 Power. | Typhoid Mary is another overstatted Zero option, but also works with Luke Cage. |
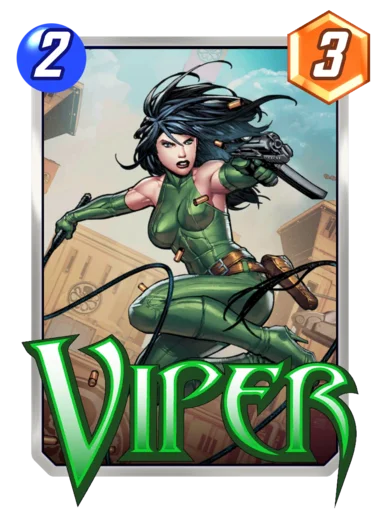 On Reveal: Your opponent gains control of one of your other cards at this location. On Reveal: Your opponent gains control of one of your other cards at this location. | Viper can be very annoying when swapping a Rock or The Hood to your opponent's side, but there are better 2-Drops to claim. |
F Tier: Not Good by Themselves
These cards have their uses, once you own a handful of much more powerful cards. It's still not a great idea to choose them, even then.
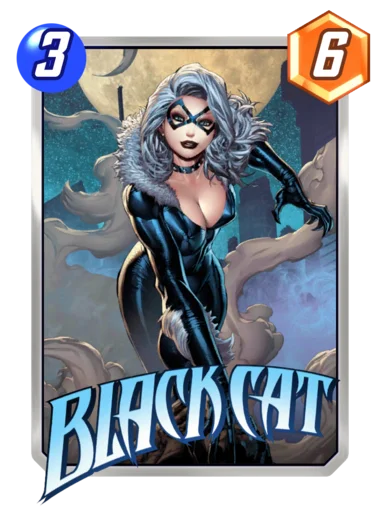 If you end the turn with this in your hand, discard it. If you end the turn with this in your hand, discard it. | Black Cat was recently buffed, but without a card that resurrects from the discard pile, she's basically useless. |
 You can only play this at locations where you are winning. You can only play this at locations where you are winning. | Crossbones is clunky and win-more, with a desperate need for cost reduction to see play. |
 When you discard this from your hand, add 3 random cards to your hand. When you discard this from your hand, add 3 random cards to your hand. | Helicarrier is a fun way to build a Hela deck, but has limited upside outside of those strategies. |
 On Reveal: When a card moves here on turn 6, destroy it. On Reveal: When a card moves here on turn 6, destroy it. | Kingpin threatens to combo destructively with Magneto and Aero, but he also telegraphs your intentions and is fairly easy to play around. |
 If this is in your deck at the end of the game, it jumps to a random location. If this is in your deck at the end of the game, it jumps to a random location. | M'Baku has synergy with Lockjaw, and can be a nice surprise in Cerebro 2 decks. However, given the size of most SNAP decks, this card is little more than 2 Power for 1 Energy. |
 Ongoing: If you’re ahead by 10 power here, +4 power to other locations. Ongoing: If you’re ahead by 10 power here, +4 power to other locations. | Omega Red's Ongoing buff is hard to pull off without overcommitting to one location, and his effect doesn't reward the player enough for that overcommitment. |
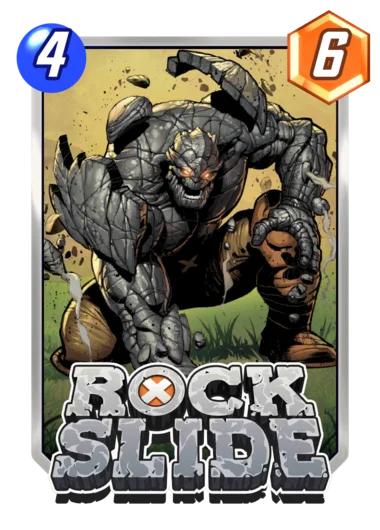 On Reveal: Shuffle 2 Rocks into your opponent’s deck. On Reveal: Shuffle 2 Rocks into your opponent’s deck. | Rockslide is mediocre disruption, but synergizes great with Darkhawk. Unless you have Darkhawk, you can pass on this - but if you have Darkhawk, he's essential. |
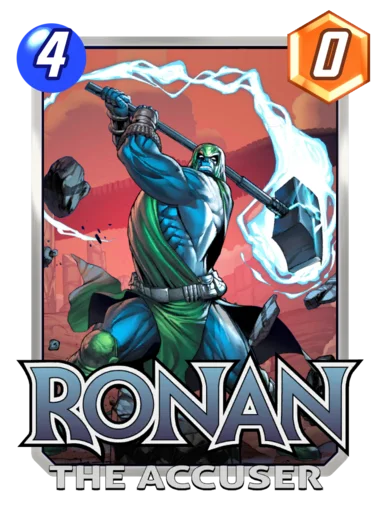 Ongoing: +2 Power for each card in your opponent’s hand. Ongoing: +2 Power for each card in your opponent’s hand. | Ronan the Accuser is harder to win with than his photo negative, Devil Dinosaur, and difficult to build around. |
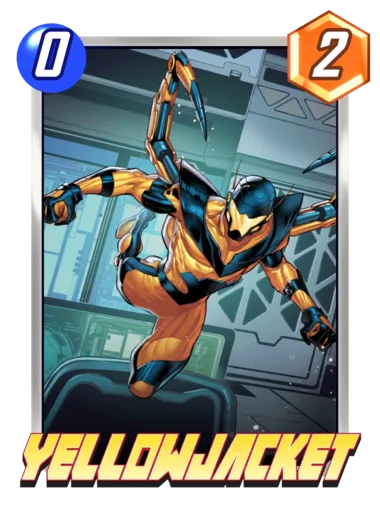 On Reveal: Afflict your other cards at this location with -1 Power. On Reveal: Afflict your other cards at this location with -1 Power. | Yellowjacket has his uses as a free source of 2 Power, but take his Energy cost to heart: it's much better to pay nothing for him. |
F- Tier: Don't Choose These Cards
These cards are not worth it to claim. While it will suck to eventually waste a Collector's Cache/Reserve open on them, it's even worse to waste the very limited resource of the single claim per Season.
F- Tier is also the home for currently powerful cards that we know Second Dinner is watching closely; we do not recommend that you claim cards that will likely be nerfed in the near future.
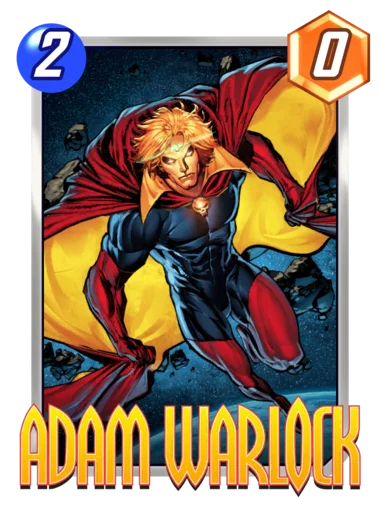 At the end of each turn, if you are winning this location, draw a card. At the end of each turn, if you are winning this location, draw a card. | Adam Warlock needs a very favorable situation to be marginally effective. Card draw is useful, but there are a few too many hoops to jump through. |
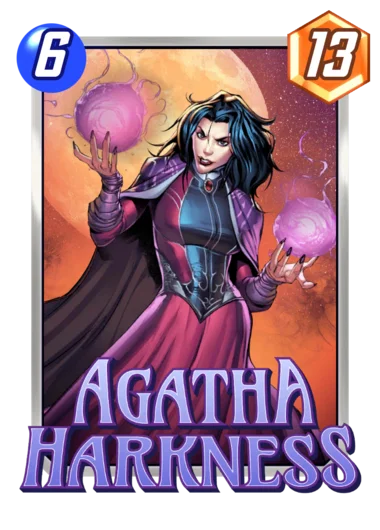 Agatha starts in your hand and plays your cards for you. Agatha starts in your hand and plays your cards for you. | Agatha Harkness is the queen of memes, but there is no reasonable excuse for you to claim her unless you desire her very specific experience. |
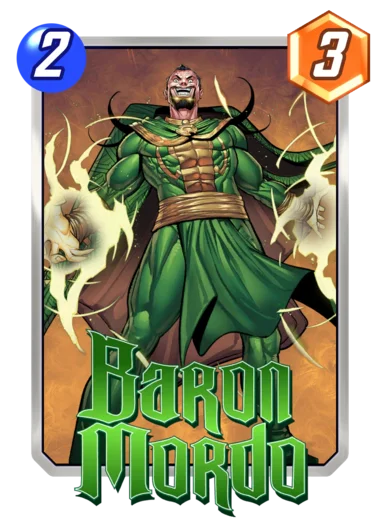 On Reveal: Your opponent draws a card, Set its Cost to 6. On Reveal: Your opponent draws a card, Set its Cost to 6. | Baron Mordo can sometimes screw up your opponent's plans, but he's also getting them deeper into their deck. |
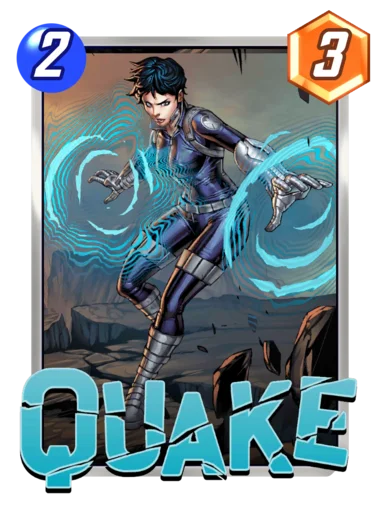 On Reveal: If this is at the middle location, swap the positions of each location. On Reveal: If this is at the middle location, swap the positions of each location. | Quake is a minor annoyance for your opponent and sometimes can screw you over more than them. |
Comments
When will the 3 tier list get updated. It has already been a month
A lot of wrong #s in here. Off the top of my head, Ghost rider is 4-3, Black Bolt is 5-8, Leader is 6-7......
I think if you have just 1000 tokens to spend you should first of all check decks tier list and see what you are missing that will help you complete a good competitive deck. I think these space vacuum ratings of single cards are just whatever. You can rate the cards all you like, but it's their synergy which is important (with some very few exclusions). I mean what is the point of buying Sera if you don't have Silver Surfer, Brood, Mystique and so on... Yeah, you could play SHang-Chi and Enchantress on turn 6, nice. But that's not an S-tier deck. So what is the point of buying this S-tier card then? If you already have let's say Patriot, then Ultron is your S-tier card. Or Mystique. I think if you rate cards in vacuum you should rate the cards that is good on their own. And that's it. Or... you rate decks and card synergies instead. It's either this or that. You can't combine all of these approaches in one.