
Hello everybody and welcome back to the first Zendikar Rising Brawl Haul! After a bit of a hiatus, I am finally back with another deck featuring one of the new cards from Zendikar Rising. Without further ado, let us jump into the deck tech featuring Orah, Skyclave Hierophant!
Overview
The main goal of this deck is to flood the board with clerics and slowly drain the opponent for their entire life total. This happens through several different blood artist effects, which are pings that trigger when a creature dies. To help sustain this, we have Orah, Skyclave Hierophant, and what I’m going to be referring to as a sacrifice chain made by our clerics, allowing us to maximize the amounts of dying clerics. Coincidentally, a lot of clerics have some form of life gain stapled onto them, resulting in a minor life gain theme to complement the aristocrat playstyle.
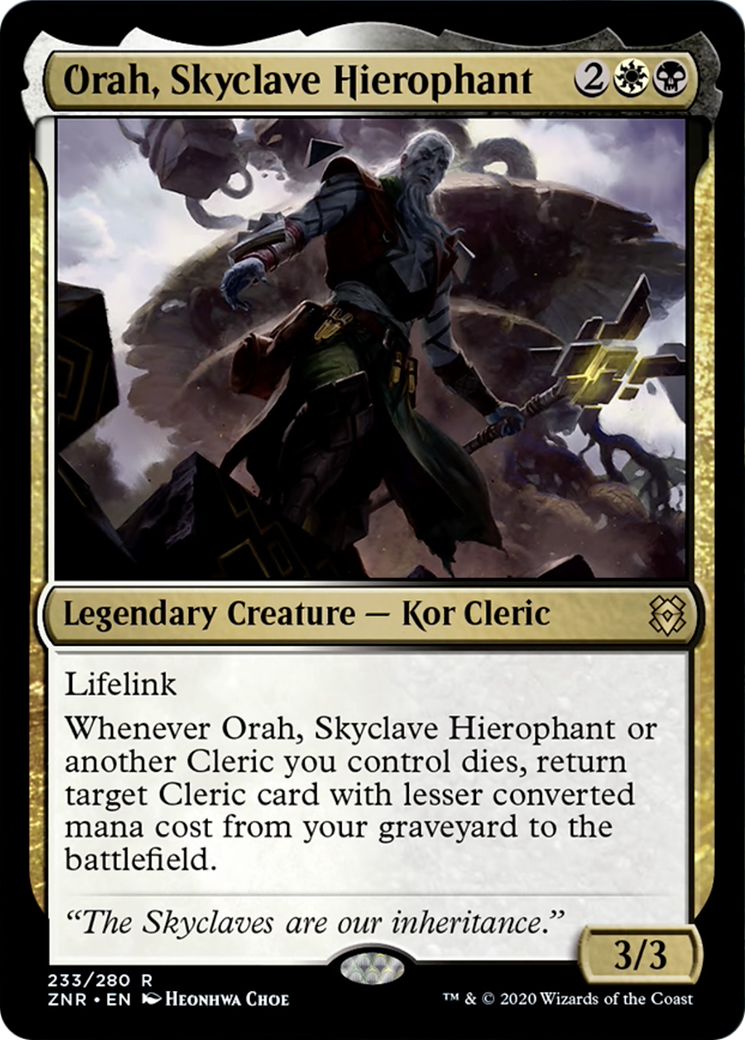
What Does Orah do Precisely?
Orah is a very strong card when it comes to enabling aristocrats due to his ability being very easy to trigger in addition to being incredibly powerful. In almost every way, it is similar to an older card named Scrap Trawler, which was fairly notorious for going infinite with sacrifice chains and is overall an absurdly fun card to play with.

Unfortunately, standard does not have a large enough card pool to go infinite, but even without it, we can get an absurd amount of value over a turn or two. Typically these types of turns revolve around playing Orah, then sacrificing our clerics until we get as low as possible, then using some form of reanimation to restart the chain from the top again.
The Sacrifice Chain
The most important part of our deck comes in the form of our cleric curve. The smoother the curve is the more value we get out of Orah, and the more the game is going in our favor. Due to the importance of the curve, instead of highlighting just the best clerics, I am going to go by the best by CMC. In order of increasing mana cost, we have Speaker of the Heavens, Cleric of Life’s Bond, Taborax, Hope’s Demise, Mangara, the Diplomat, and Angel of Destiny.
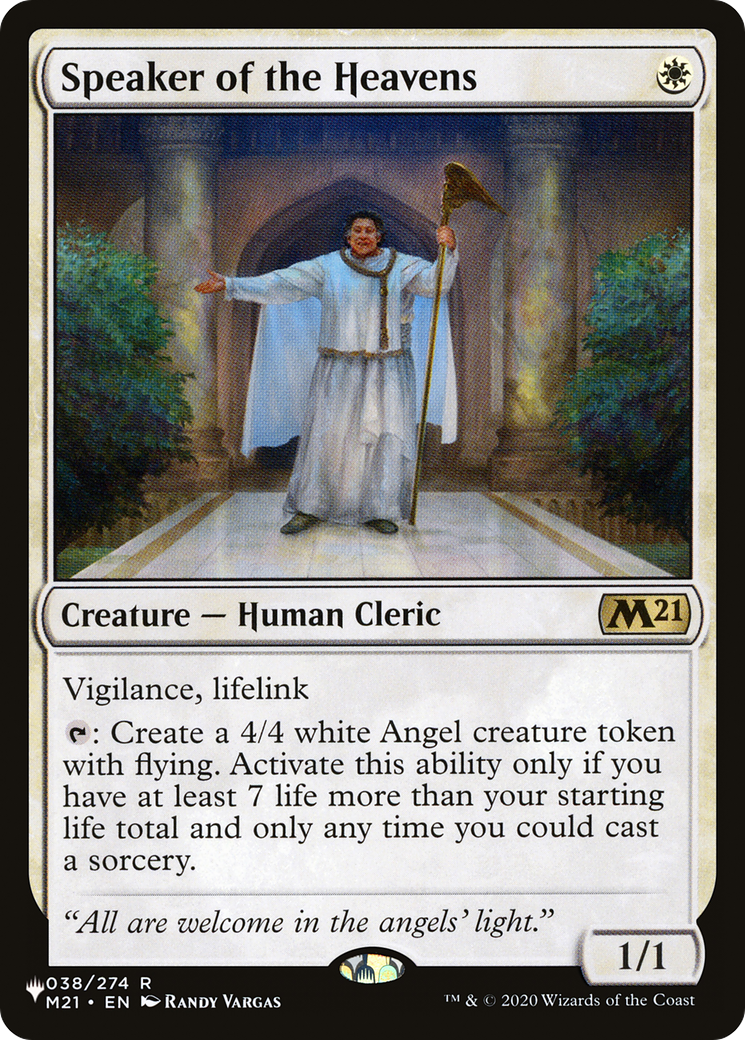
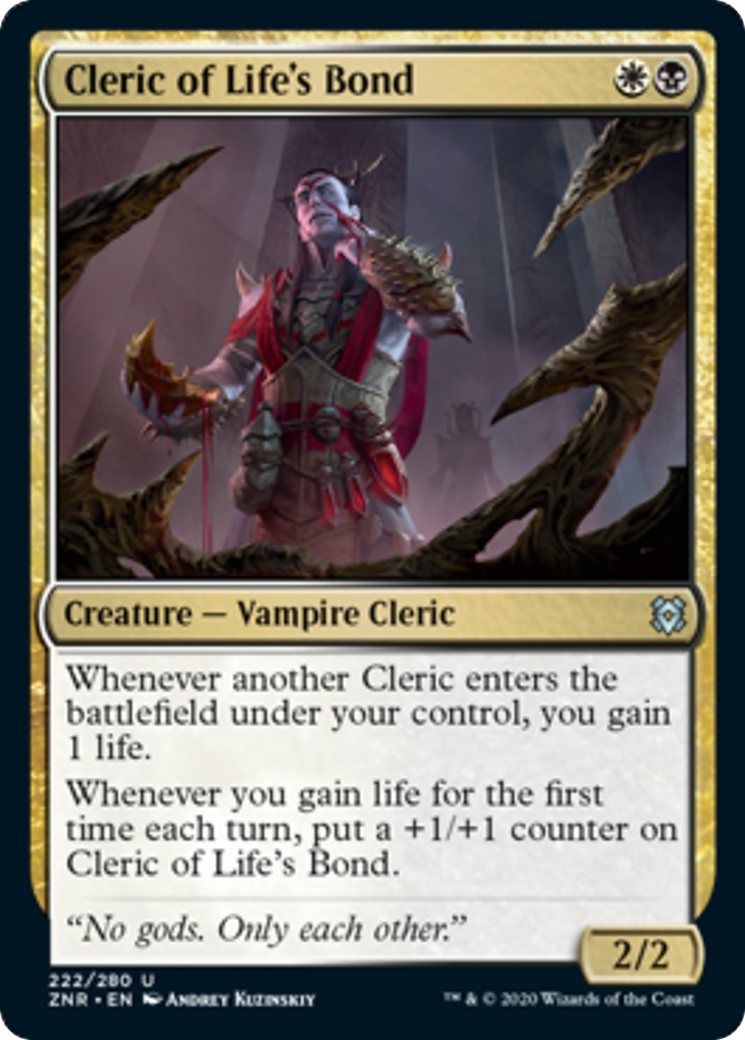
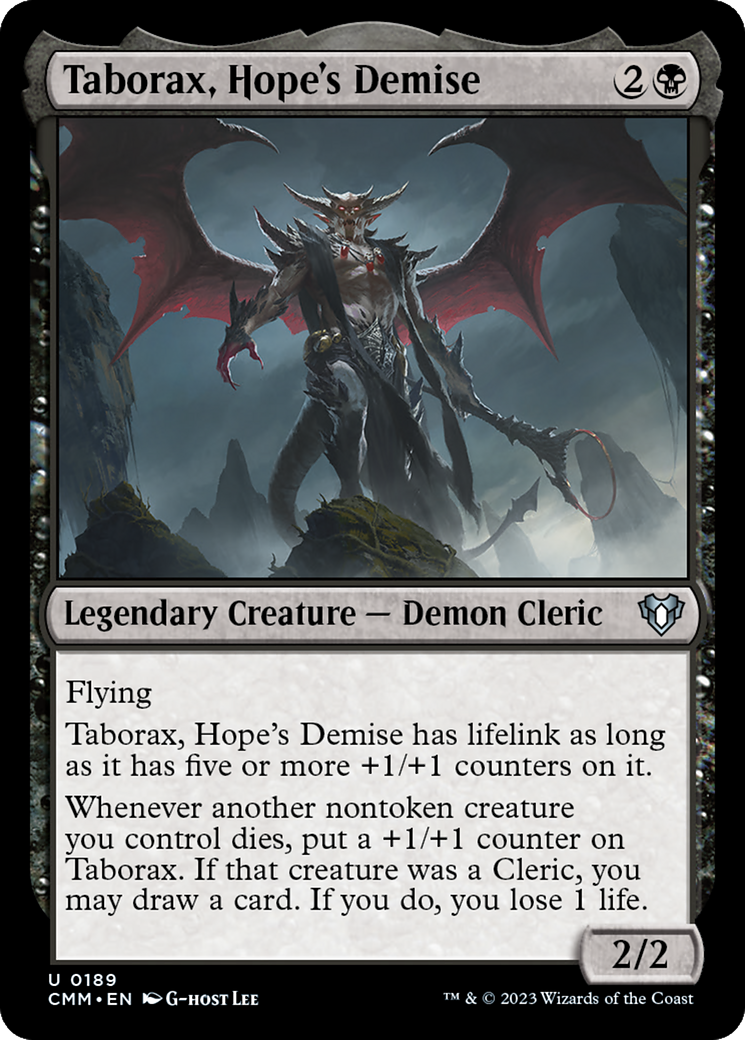
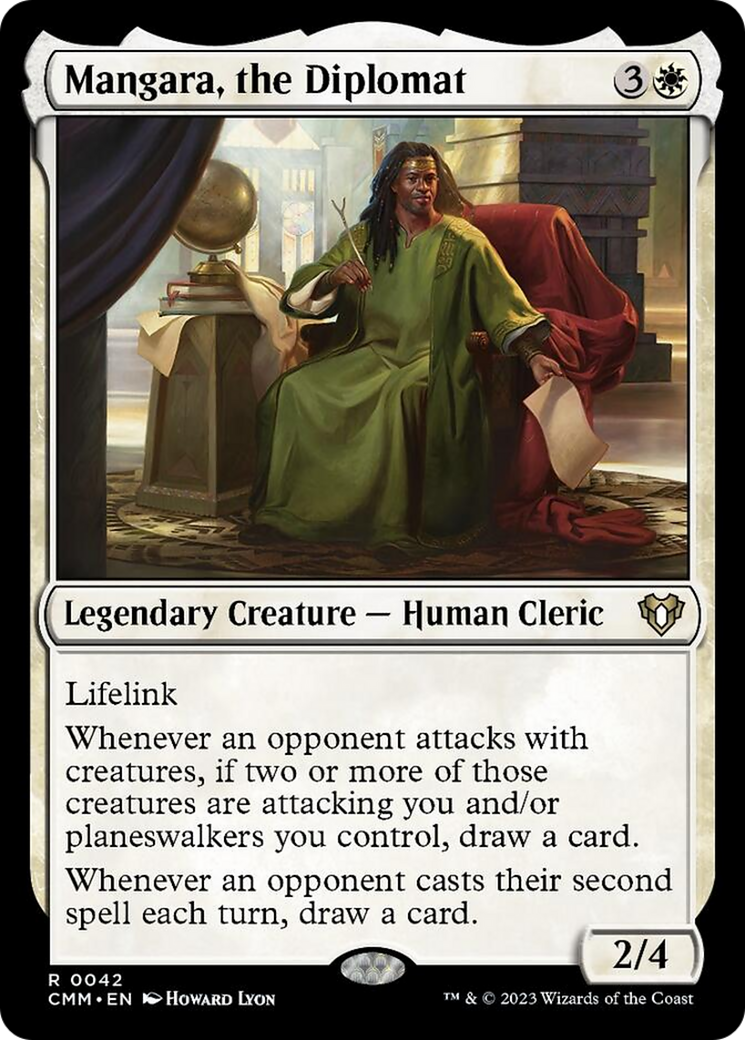
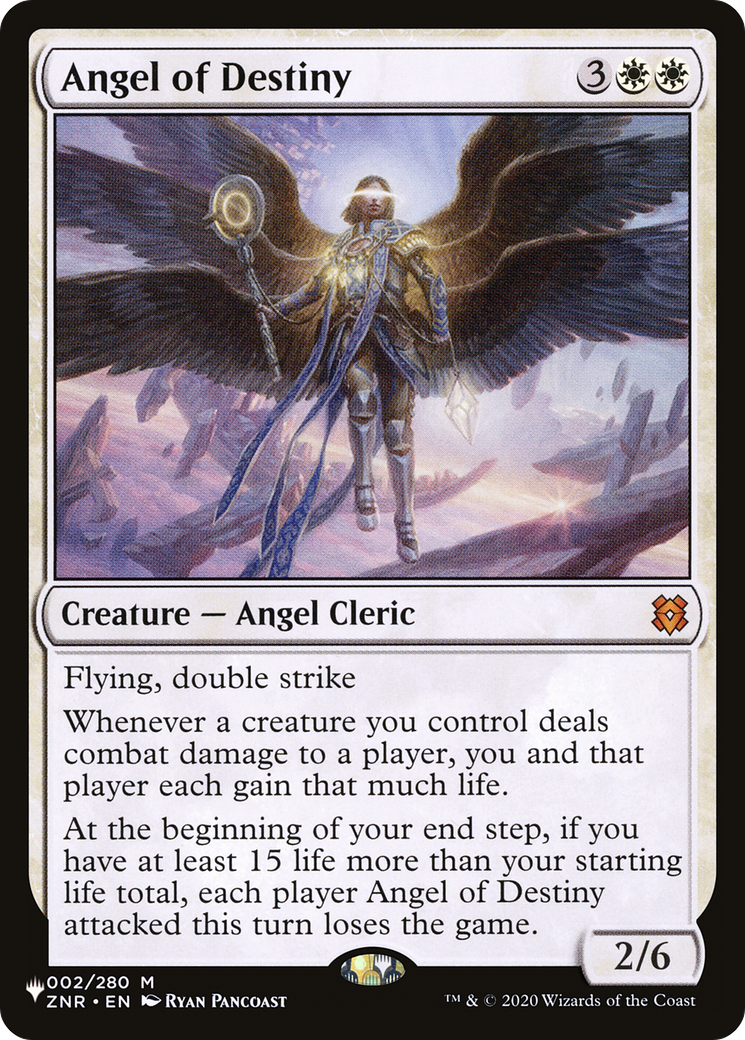
Starting at the bottom of the chain we have Speaker of the Heavens, which in the early game is just a chump blocker but once we get going, it can pump out angels like crazy. Next, there is Cleric of Life’s Bond, who not only pads our life total to let us durdle around more but also becomes a massive body itself. Given how slow this deck can be to set up, this card is well worth it for just slowing the game down. Taborax, Hope’s Demise is one of the best payoff cards the deck has. Similar to Cleric of Life’s Bond, he becomes a massive attacker as well, in addition to having innate evasion. What puts him over the top though is that he draws cards once we start sacrificing clerics off, pushing us even further ahead than we would from just normally using Orah. Mangara, the Diplomat is a bit of a shoo-in, given that we do not have any other CMC 4 clerics aside from Orah, but he does do a decent job at persuading the opponent not to attack as much and to cast fewer spells. Finally, we have Angel of Destiny on the top of our sacrifice chain. She is very much like Mangara in terms that she’s mainly notable for being our only CMC 5 cleric, but she does just win the game sometimes on her own due to evasion being great.
Sacrifice Outlets and Payoffs
Encase it is not obvious, this deck needs sacrifice outlets and payoffs to get ahead. In terms of sacrifice outlets, the best ones we have are Woe Strider and Relic Vial, and for payoffs, we have Erebos, Bleak-Hearted. Bastion of Remembrance, and Malefic Scythe.
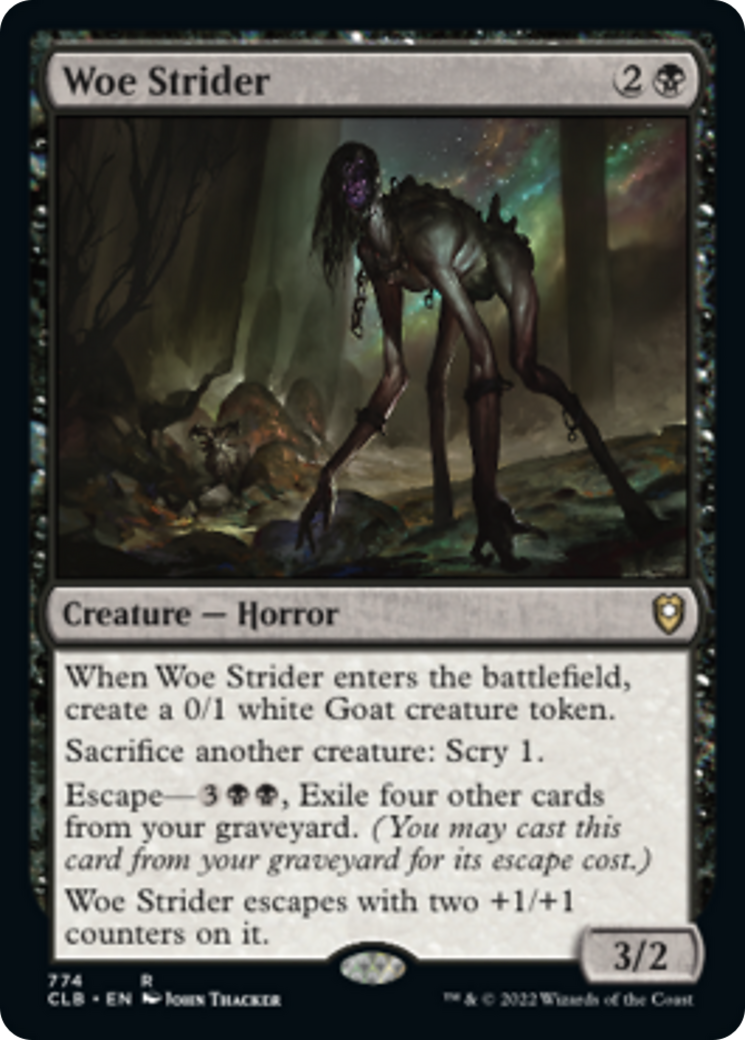
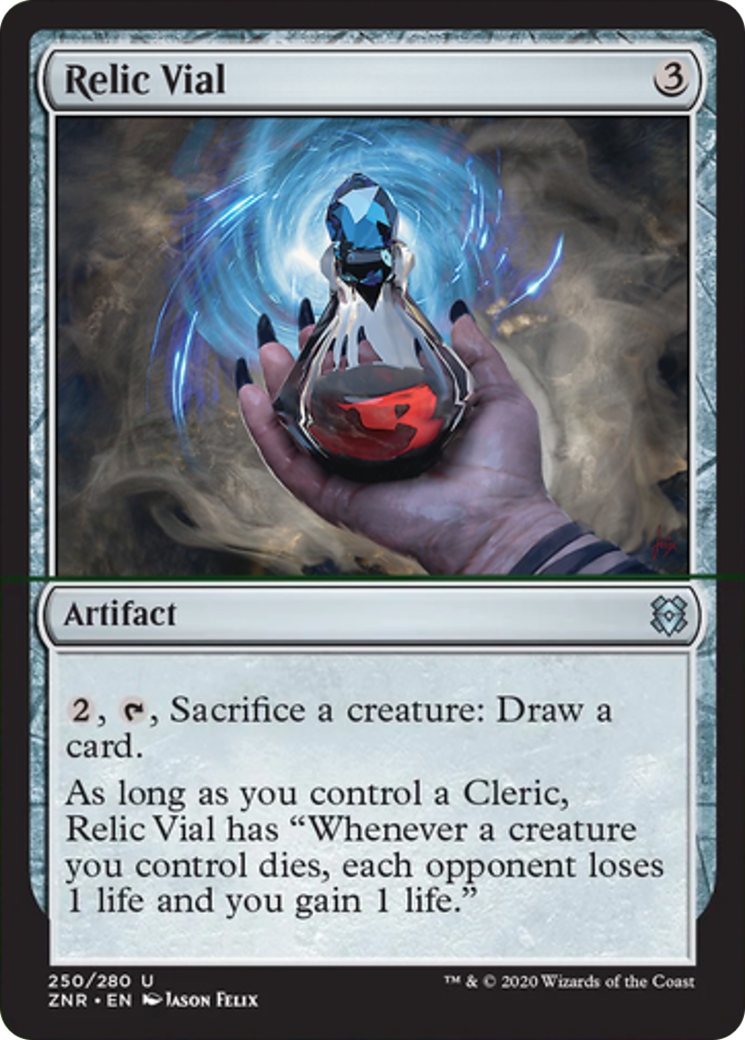
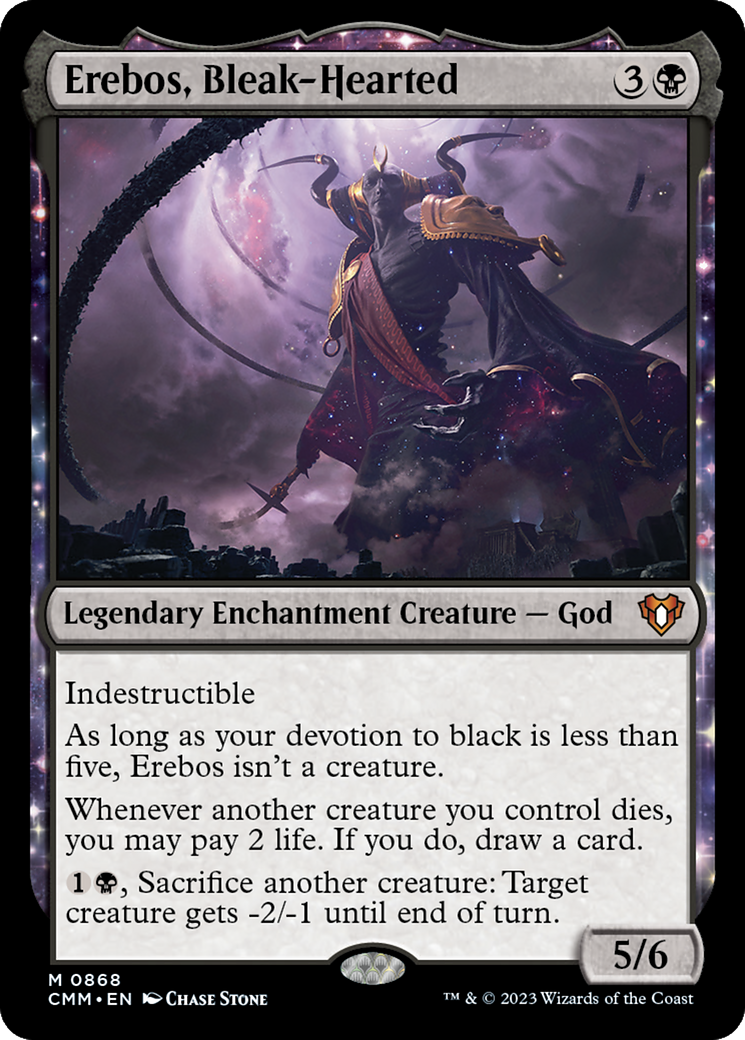
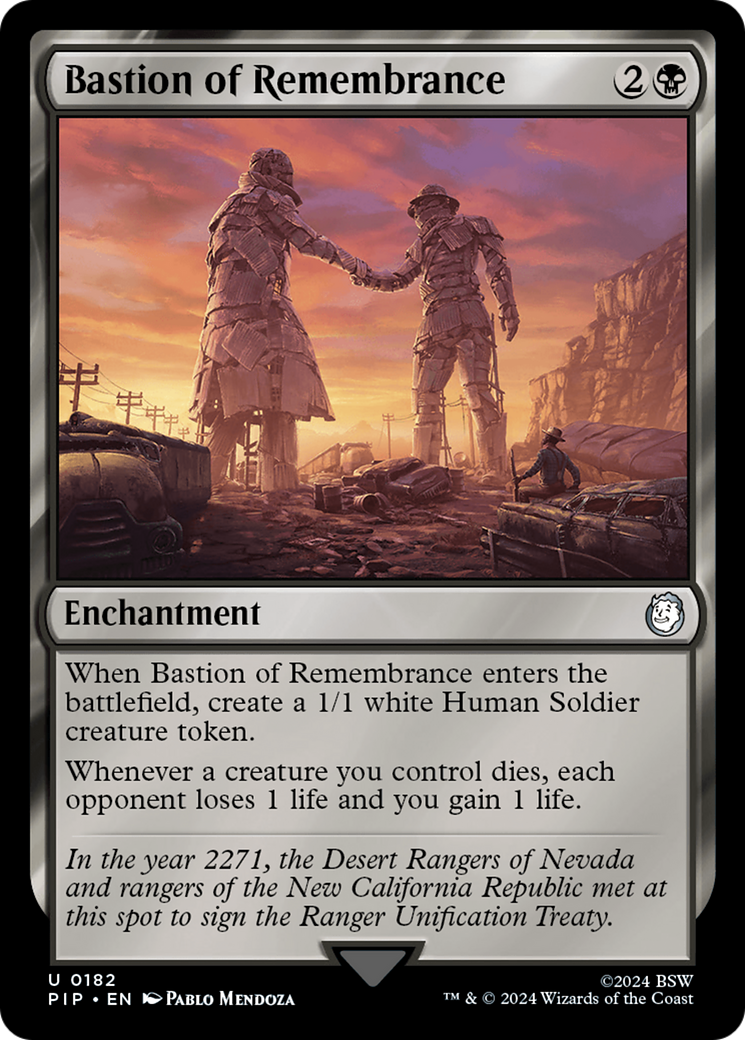
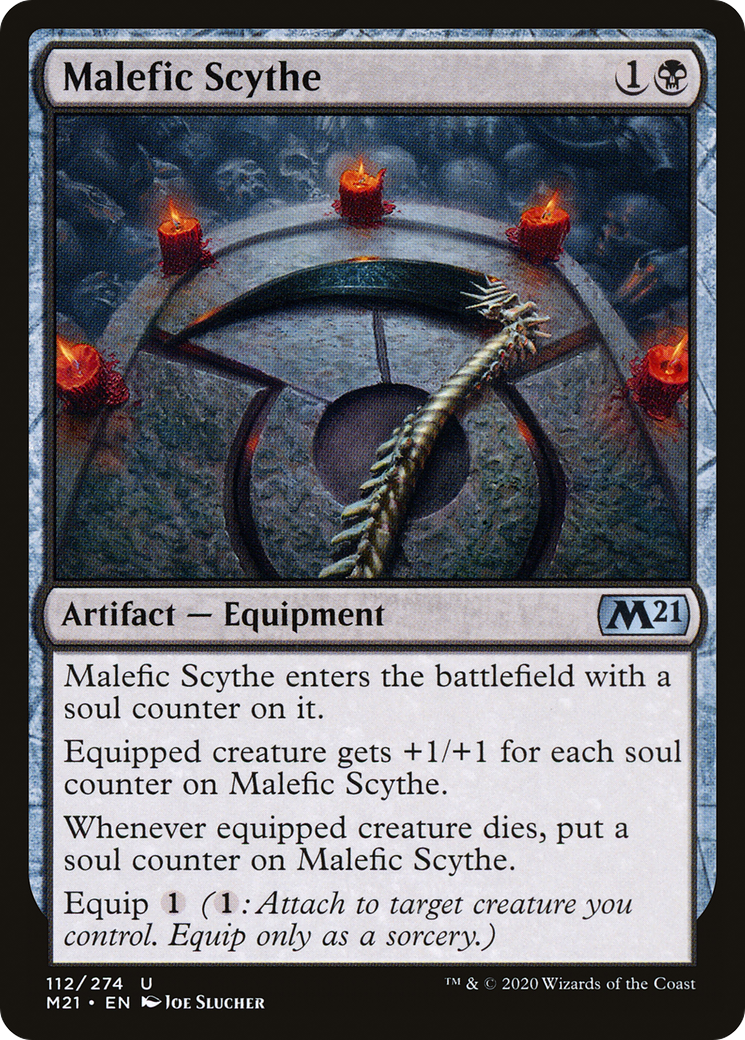
Of our sacrifice outlets, the best two are without a doubt Woe Strider and Relic Vial, with the former being absurdly powerful due to it being a repeatable free effect, and the latter just allowing us to see more cards as well as letting us drain the opponent a lot more. It is hard to describe how impactful having a free sac outlet is, especially if you are not familiar with this style of deck, so you’ll just have to trust me on this. As for sacrifice payoffs, Erebos is a great way of making sure we draw more cards, as well as doubling up as a sacrifice outlet. Bastion of Remembrance drains the opponents and being an enchantment makes it hard to interact with. Finally, we have Malefic Scythe, which I’ll be honest, isn’t a good card normally. However, if we have a Woe Strider on the field, it is very easy to power it up and can make any of our creatures into a massive threat.
Life-gain Payoffs
To work with all the innate life-gain effects our deck has, we have a whole bunch of cards to synergize with this. The best ones we have access to are Vito, Thorn of the Dusk Rose, Marauding Blight-Priest, Heliod, Sun-Crowned, and Griffin Aerie.
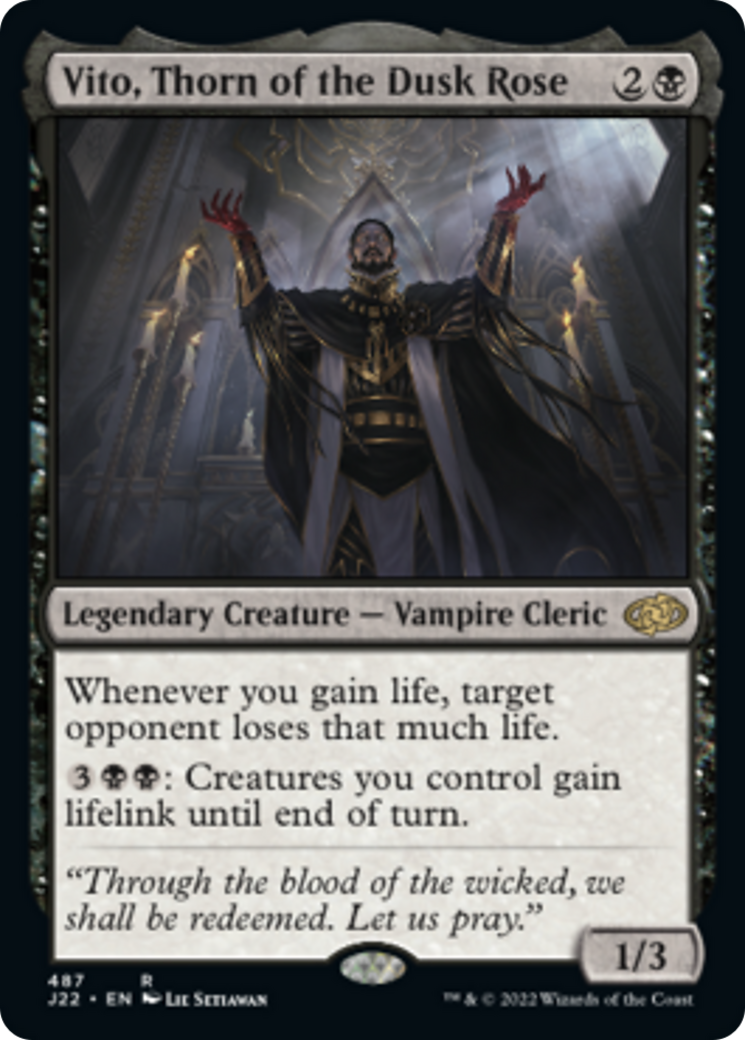
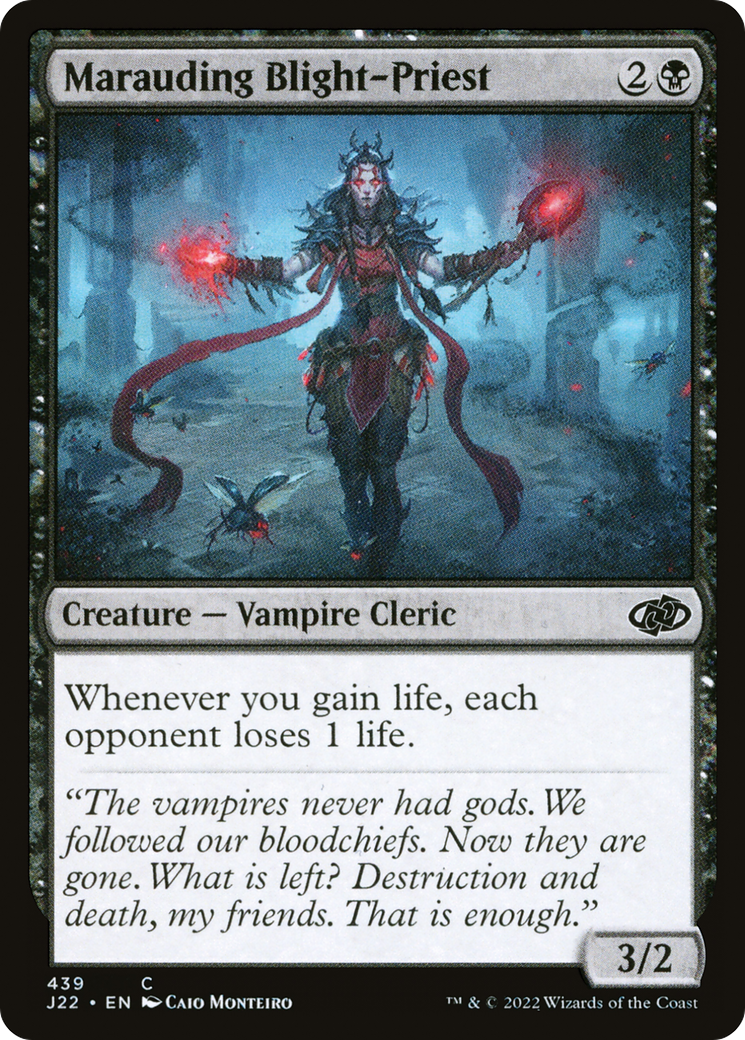

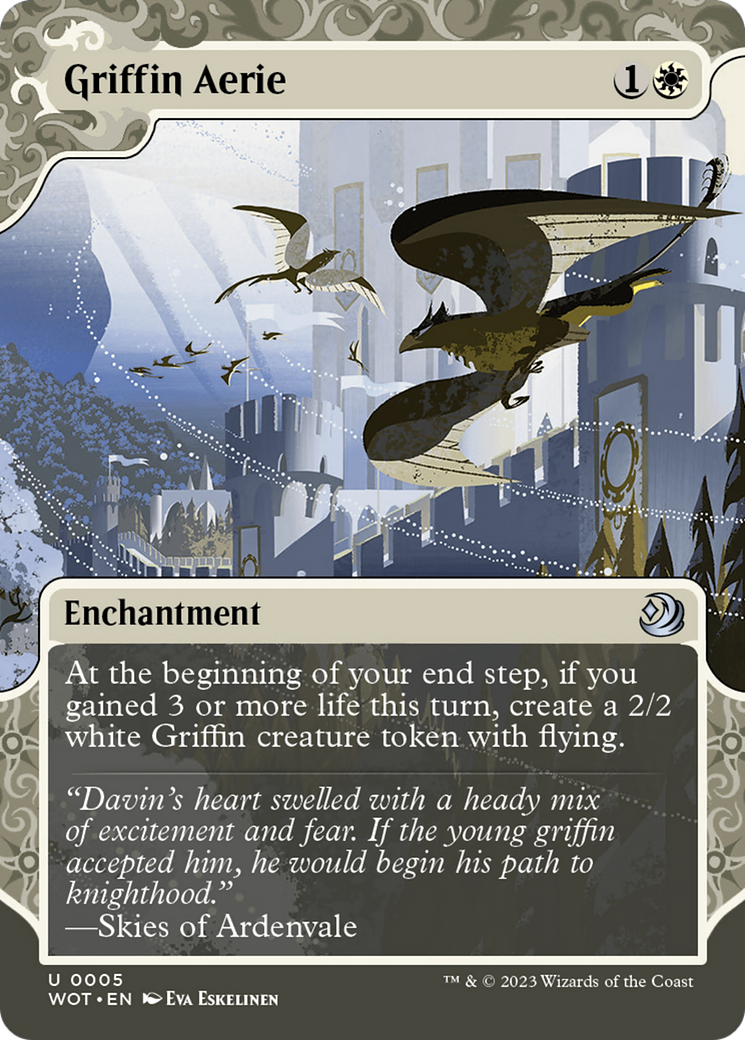
One of the biggest issues with life-gained decks is that gaining life is worthless without some way of capitalizing on it. This is where Vito, Thorn of the Dusk Rose, and Marauding Blight-Priest, which both just turn our healing into damage, with Vito being the stronger effect, although both generally have the same impact as each other. Heliod also can turn our life-gain into damage by helping us go wide. The last major payoff we have is Griffin Aerie, which pumps out a token every turn for very little commitment.
Other Notable Cards
Like always, there are a few cards that stuck out to me for just being incredibly synergistic with our deck, even when it did not fit into one of the main goals the deck has in mind. These cards are Agadeem’s Awakening, and a lesser extent all the MDFCs, Doom Foretold, Luminous Broodmoth, and Grim Tutor.
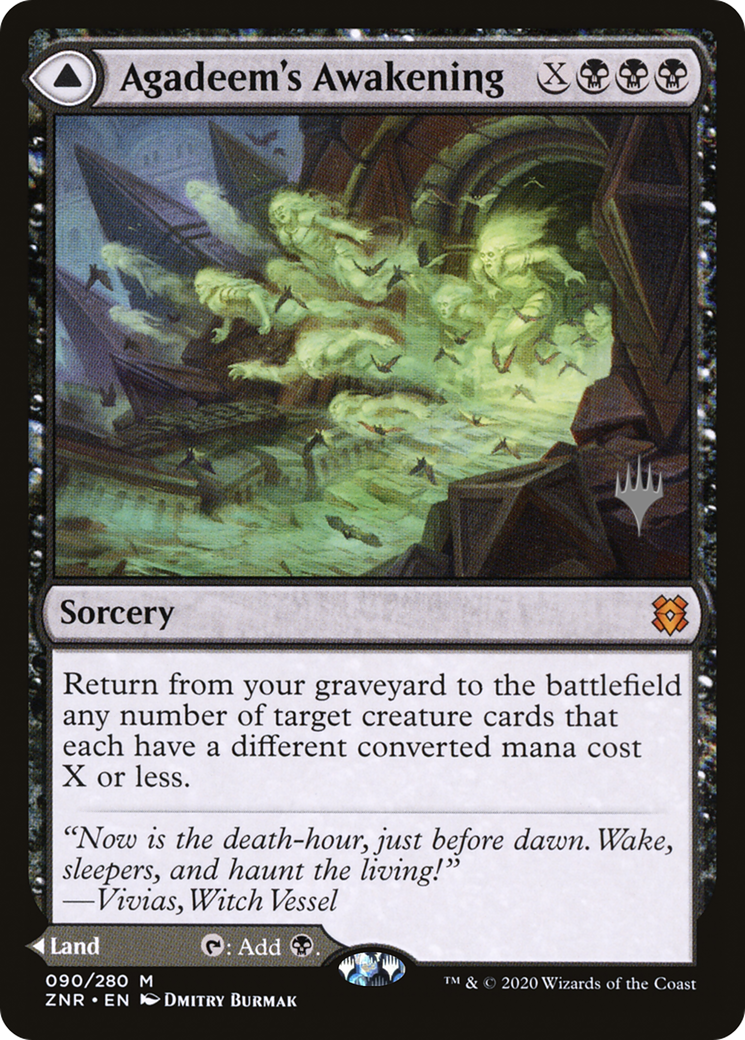
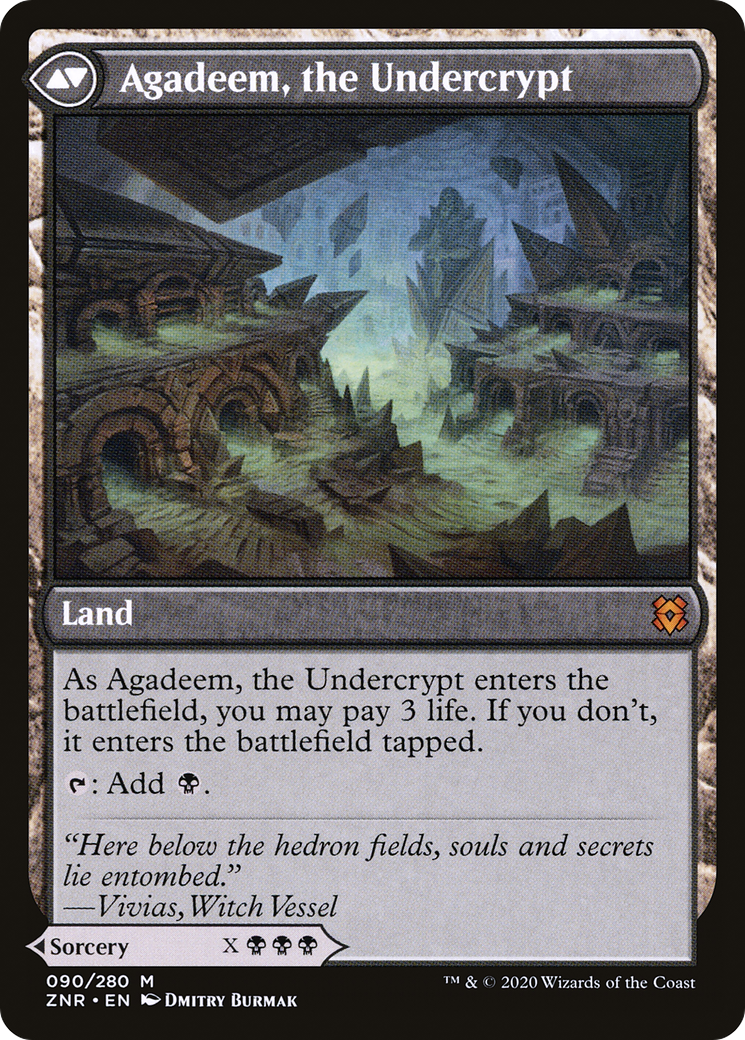
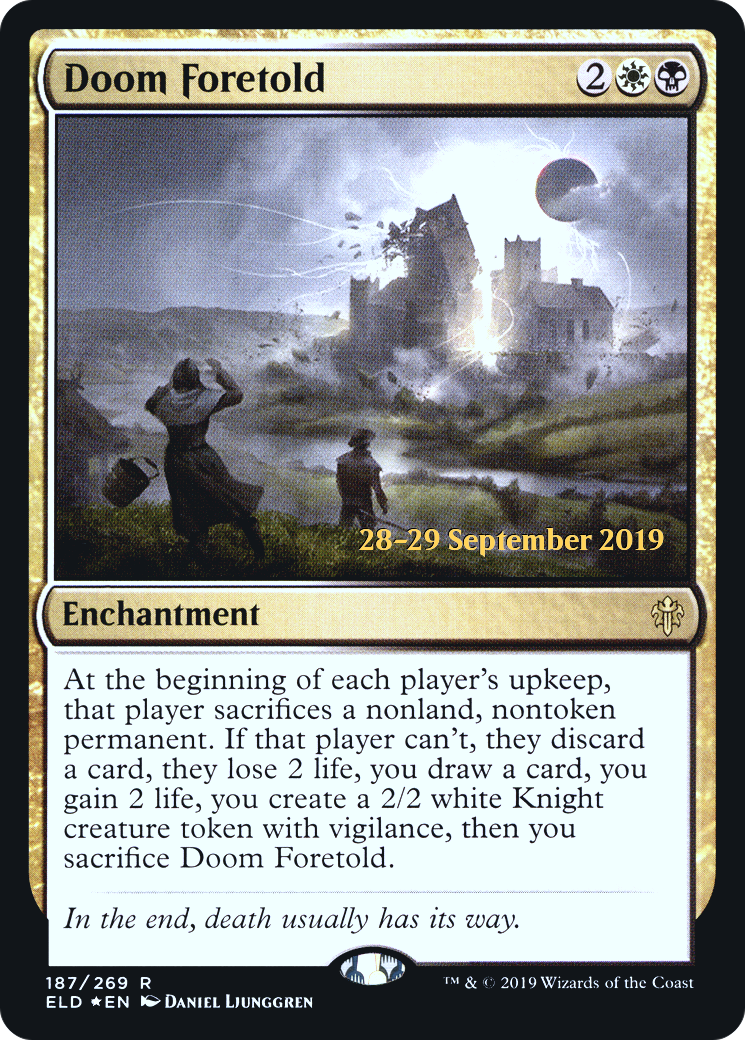
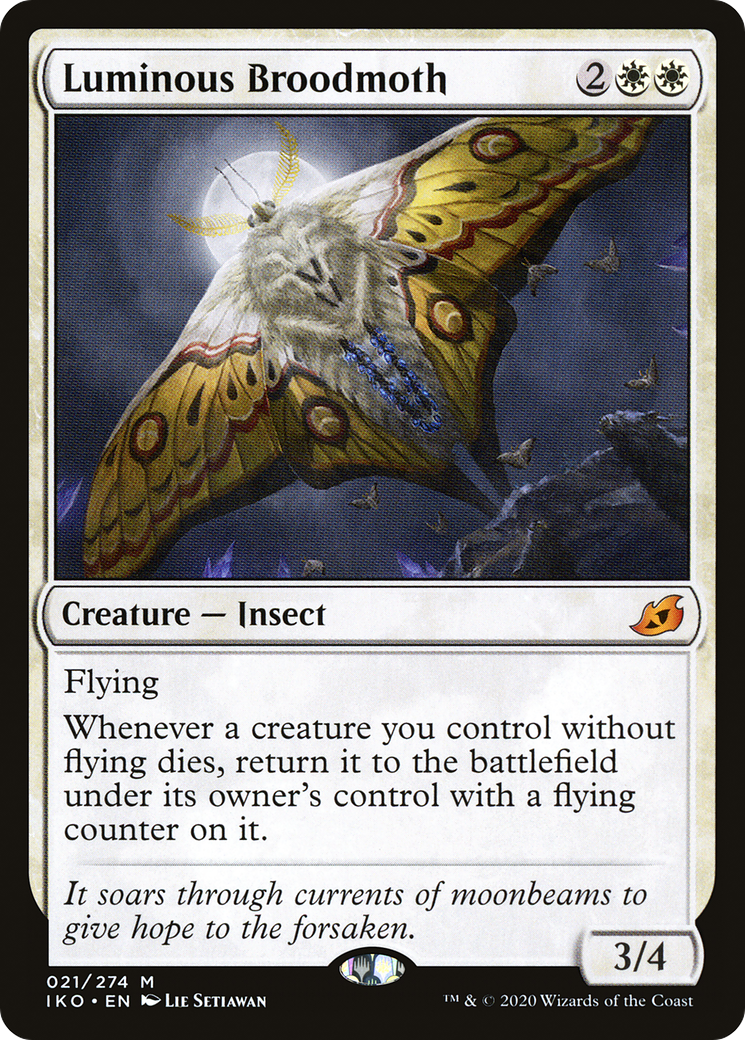
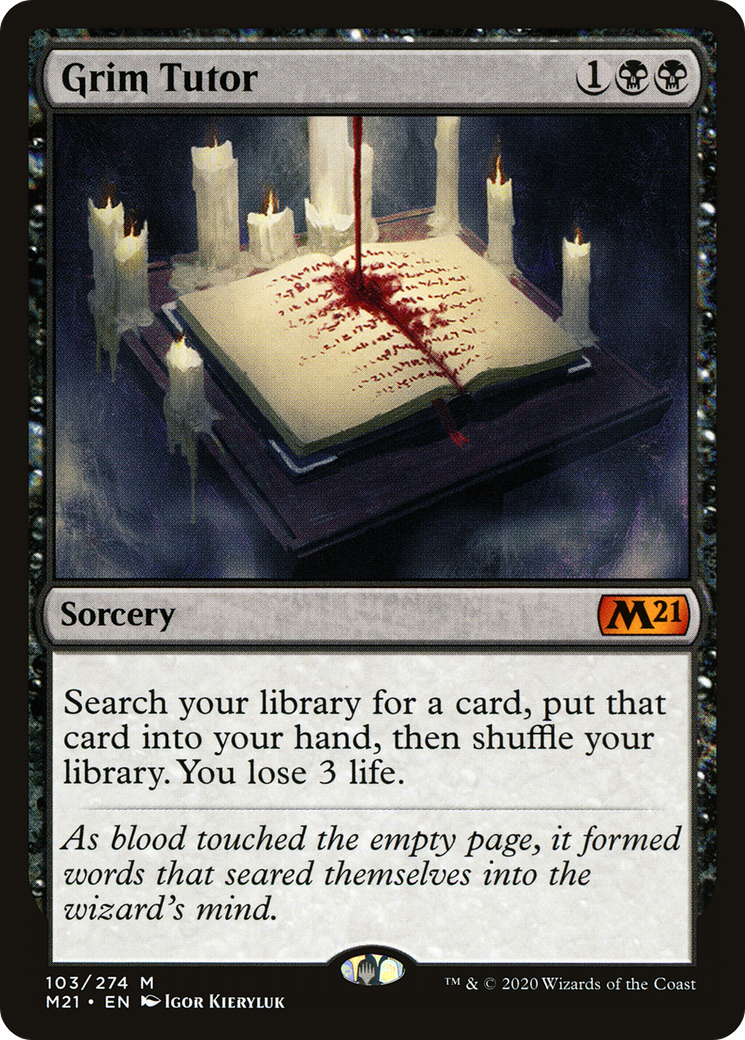
Given how slow this deck can be to get all the parts in place, we can afford to run all the MDFCs even with the downside of coming in tapped. For those out of the loop, MDFCs are Modal Dual-Faced Cards which are a spell on one side and a land that most the time enters tapped on the other. This provides the deck with a ton of action as you can just run more spells in exchange for lands without a drawback. The most synergistic one comes in the form of Agadeem’s Awakening, which just wins the game for us if we get to resolve it most the time. As for the other notable cards, Doom Foretold is a great control tool, letting us keep the opponent’s board clear for essentially no downside for us, given that we can typically throw enough creatures in the way to stall it out. Luminous Broodmoth lets us double-dip on almost all of our sacrifices, as well as being able to help make a large flying army of clerics. Broodmoth is one of the few ways we have of spiralling the chain out of control as each time we go down a CMC we can get twice as many sacrifice triggers. Finally, we have Grim Tutor, which is just a great card for a deck that is reliant on a small few cards to be able to combo off. Grim Tutor is essentially just the 2nd copy of every card in our deck, and consistency is what makes or breaks most decks.
Strengths and Weaknesses
The biggest strength this deck has comes in the form of resilience. Aside from graveyard interaction and exile effects, which are both not very common in Brawl, the deck is hard to interact with as almost everything can be reanimated at some point in time, resulting in us not caring if we get wrathed or have our stuff get countered.
As for where the deck falls short, I mentioned it briefly earlier. This deck is really slow and just does not do much until it gets its engines online. This means against some faster decks, we just lay down and die a quick death. We do have a ton of stuff hoping to counteract it either from gaining life or just killing the opponent’s creatures, there are still plenty of times where we run up just short of being able to stabilize.
Decklist
Interested in trying out this week’s deck? Well here’s a link to it!
Wrap Up
I have a few favorite archetypes to play in Magic, but just not gotten the chance to showcase decks for them due to just not having any interesting support. One of these archetypes I doubt I will ever be able to show, that being Storm, aristocrats was one of the others I was hoping to be able to get around to as there is something satisfying of putting together all the pieces for the deck to work, then ticking it off and starting a massive chain of effects. It might just be the metagame being shaken up due to the standard rotation, but playing this deck felt like such a breath of fresh air. On top of that, since the next rotation happens in a year from now, I don’t feel bad about recommending people to craft the deck and try it out as well.
That pretty much ends the showcase for this week, I hope it was worth the wait. I would like to quickly apologize for the lack of a spotlight last week as I had some things pop up that I had to address. Like always, if there are any commanders that you are interested in, make sure to let me know in the comments and I will take a swing at them! Until next time, good luck brewing!


Comments
Used this as my basis for my Friday Night Magic Singleton deck 8D
3-1
Looks interesting, I might give it a try. Thanks.